
Learn how to sew an A-line dress! With this quick and easy tutorial, you can now make your own a- line dress just the way you want it!
How to Sew A-Line Dress In 14 Fab and Easy Steps
Learning how to sew an a-line dress is actually pretty simple. Once you've printed out your pattern, the only challenging part is making sense of it. You might want to try the pattern out on a spare fabric before moving on to your project fabric. There are a few notes as we go on, but don't worry! In 14 easy steps, you'll be sewing your very own A-line dress exactly the way you want it!
Materials to Use on How to Sew A- Line Dress:
- Lining Fabric
- Dress Fabric
- Scissors and Pins
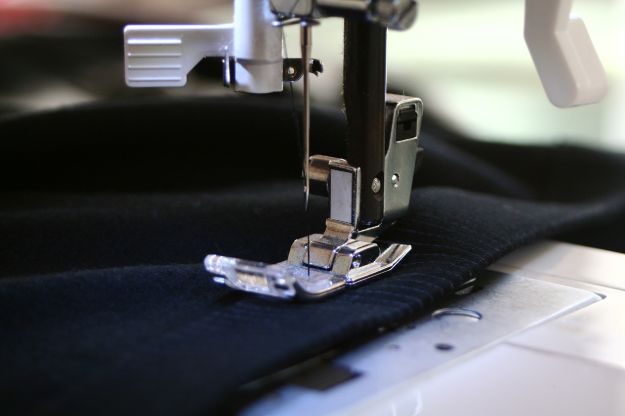
- Sewing Machine and Thread
- Iron and Iron Board
- Pattern (I'm using pattern number # 03/2016 from Burda-Style)
Reminder:
This tutorial needs lining. To learn more about how to sew a lining into a dress, check out this guide on How to Sew a Lining Into a Dress!
Part 1: Prepare Your Pattern and Fabric
Step 1: Use the patterns to cut your fabric

Cut your fabric according to your assembled pattern. The pattern I'm using comes with marks for notches. Pay particular attention to where the notches are placed. There is also a darts guide for each size. Find your size and mark it. Mark notches to show the back line and pleats.
Remember:
- There are no seam allowances on the patterns provided. Make sure you add seam allowances when you cut your fabric.
- Use the same pattern to cut your lining fabric. In cutting the back, eliminate the pleat.
Step 2: Marking up the Bust Darts by Pressing
Mark on the reverse side of your fabric of your front dress. You need to know where your darts will fit. Prepare your darts by folding and pressing down on your dart marks. Be careful not to go beyond your dart mark.
Step 3: Sew and press your darts
Follow your dart marks and sew. It is also helpful to press your folded fabric before you sew. Start sewing from the side seam to the dart. Once done, press your darts going down.
Part 2: Assembling the Back Fabric and Lining Together
Step 1: Prepare your back fabric
Lay out your back fabric and mind where the notches are. These notches will help you in assembling together the different parts of the dress. Mind where the notches for the pleat will go and press down into position.
Step 2: Stitch together a line below the slit
Fold your back fabric lengthwise, lining up the edges together. Follow the pattern and see where to start sewing and where to stop. Mark on your fabric and sew. After sewing, press to open the dress.
Step 3: Stay stitch your box pleat
Stay stitch to keep your box pleat in place but don't go right across.
Step 4: Prepare to attach your lining to your back fabric
With your fabric done, pleats and all, prepare your back lining fabric. Cut to a fold and a slit that matches the slit on your back fabric. The lining should be right side facing up.
Step 5: Sew your lining and fabric at the slit
At your slit, fold the lining fabric in itself, marking an allowance where you can stitch your lining to your back fabric. Start sewing on one side by stitch lining to the fold line of the dress with the facing of the dress open. Do the same to the other side of the slit.
Step 6: Understitching
Understitch the edges of the slit to hold back the facing. Do not go through to your back fabric, simply run the stitch through the lining and seam allowance, making sure you sew it 1-mm from the edge.
Part 3: Assembling the Whole Dress Together
Step 1: Join the back and front fabric by the shoulders
Put the fabric right sides together. Sew using about 1-cm seam allowance. After sewing, press the seams open.
Step 2: Sew the lining on the shoulders
Line up your shoulder seams and edges, add little notches around the neckline in both dress fabric and lining fabric. Turn it all inside out, right sides together, and align all the notches. Start sewing at the shoulder seam around the neckline. Line up your notches as you sew. Make sure you sew just about 1 cm of the seam allowance only.
For a step-by-step guide on how to sew a lining into a dress, go here for the separate detailed tutorial.
Step 3: Attach a fastening
Sew a little ribbon as your dress' fastening near the slit. Continue sewing your lining to your fabric by the neckline.
Step 4: Snip notches on the curves
Snip notches on the curves of your dress. Poke out the corners and press your fabric.
Step 5: Understitching your neckline
Following your notches, understitch around your neckline. Sew about 1-mm from the edge.
Finish your dress by attaching the sleeves. Learn how to attach sleeves by watching this tutorial.
You've now attached your fabrics together! Watch this video from STITCHLESS TV for the full tutorial on how to sew a-line dress:

Learning how to sew a-line dress is just the beginning. Imagine being able to make different kinds of simple yet elegant dresses. You would look stunning in your own creation! Try other styles of dresses with your newly acquired skill. Your wardrobe will be thanking you for it.
Now you know how to sew a line dress, what other kinds of dresses do you want us to make a tutorial of? Let us know in the comments below!
Want to know which dress pattern you're sewing next? Check out How to Sew a Simple Turtleneck Dress!
Follow us on Facebook, Twitter, Instagram, and Pinterest!
Featured image via Pixabay