

A magic ring in crochet is an easy way to make your projects look more polished and complete. Here’s a step-by-step guide to help you get started.
RELATED: How To Design Your Own Personalized Crochet Cup Coozy
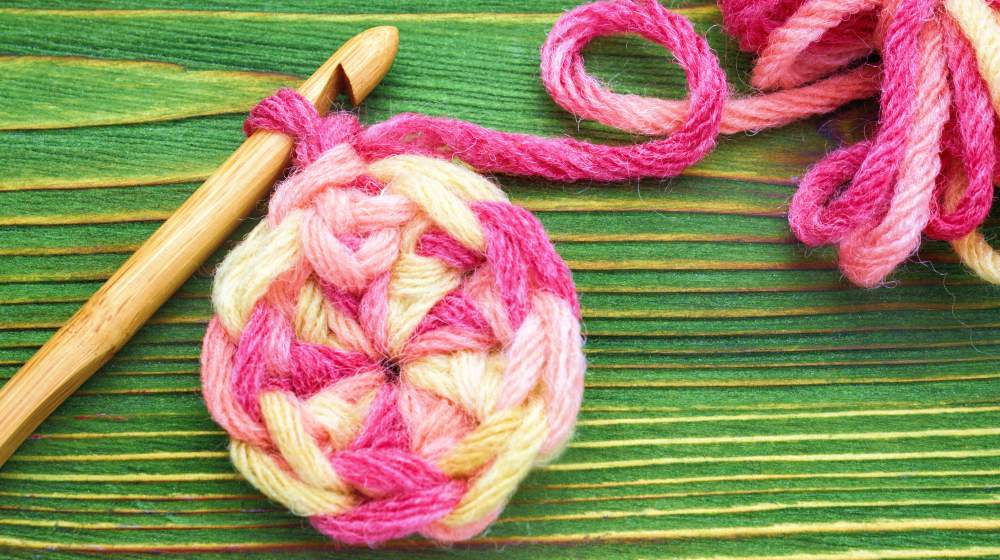
Learn Magic Ring Crochet for Your Next Projects!
What Is a Magic Ring in Crochet?
A magic ring (also known as a magic circle) is a technique where you start the first round of a project with an adjustable tight ring instead of a large gaping hole in the middle. This is essential for crocheting things like hats and amigurumi patterns, but it can be used in any project to make them more finished-looking and durable.
What is amigurumi? Amigurumi is the art of crocheting stuffed yarn creatures that originated in Japan. A magic ring is vital for Amigurumi so that the stuffing inside doesn't fall out.
You’ll Need:
- yarn
- crochet hook
NOTE: This tutorial shows you how to start the magic ring using a single crochet stitch, but you can use also use other crochet stitches to start with depending on the project you'll use it on.
Step 1. Loop the Yarn

:max_bytes(150000):strip_icc():format(webp)/MagicCircle2-5c86c34046e0fb0001cbf56d.jpg)
To get started crocheting your magic ring, make an e-shaped loop at the end of the yarn. Make sure your working yarn is right on top.
If you're left-handed, make a flipped e-shape instead.
Step 2. Insert Your Hook
Hold the loop in place with your fingers, then insert your crochet hook at the center of the loop. Wrap the yarn on your hook from back to front.
Step 3. Draw Yarn Through the Loop
Next, pull the hook and draw the yarn through the loop. Don’t forget to hold the loop as you draw the yarn to keep it in place.
Step 4. Complete the Chain
:max_bytes(150000):strip_icc():format(webp)/MagicCircle5-5c86c44d46e0fb0001336555.jpg)
Complete the chain stitch and draw your hook through the loop. Your hook should be inside a small ring of yarn.
RELATED: 13 Easy Crochet Patterns For Beginners
Step 5. Start the Single Crochet
:max_bytes(150000):strip_icc():format(webp)/MagicCircle8-5c86c4ef46e0fb0001cbf56f.jpg)
Now that you have your first chain stitch in place, insert your crochet hook, draw a loop, and pull the yarn through both loops. Repeat this as many times as you need depending on the pattern.
Step 6. Tug, Then Slip Stitch
Tighten the circle with a slight tug, then use a slip stitch to join the two ends together.
Step 7. Close the Magic Circle
:max_bytes(150000):strip_icc():format(webp)/MagicCircle10-5c86c53e46e0fb0001a0bed2.jpg)
Pull the other end of the circle as tight as you need it to be to complete the magic ring. Make sure to secure your yarn ends so that it doesn’t open up when you least want it to.
See how to crochet a magic ring with double crochet instead in this video from Crochet and Knitting with Tuula Maaria:

Magic ring crochet may seem awkward at first, but with patience and practice, you can get the hang of it. Gone are the days where you feel the chill on the top of your beanie, or see stuffing fall out of your amigurumi animal.
Once you master the magic ring, you’ll wonder why you haven’t learned it much sooner.
Have you used the magic ring in any of your projects? Share your tips and experiences in the comments section below!
Up Next:
- Sewing Tutorial For Beginners | How To Make A Single Crochet
- Easy DIY Crochet Mermaid Tail Blanket
- How To Sew A Simple DIY Laptop Sleeve In Minutes
We aim to feature the hottest trends in the sewing world, so get in touch if you can contribute! WRITE FOR US!
Stay connected with us on Facebook, Twitter, Instagram, and Pinterest!