

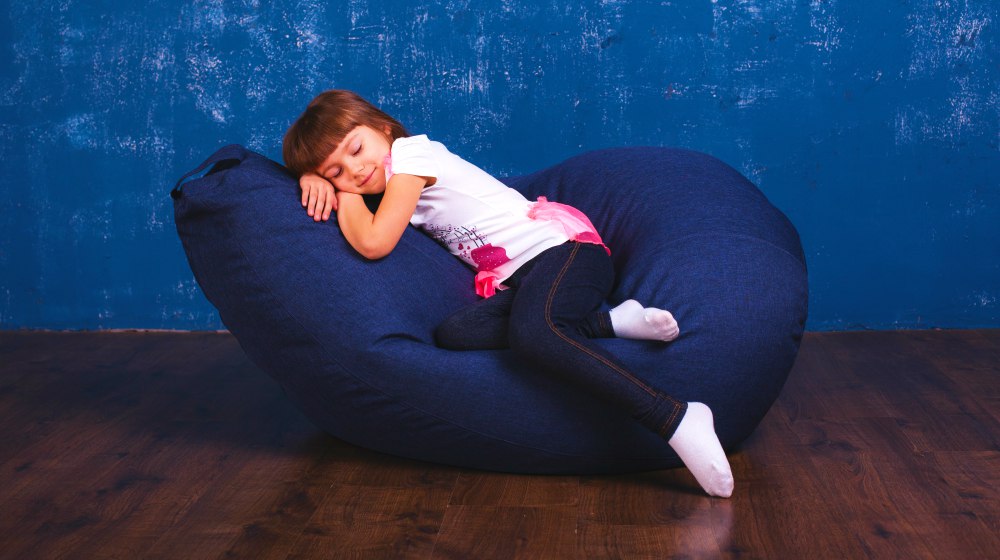
Our kids have plenty of free time to play and go wild, but they also need a leisure place to wind up and relax. Kids bean bag chairs would do the trick! They are a comfy addition to any cozy home.
RELATED: 7 Exciting Yarn Crafts And Ideas For Your Kids
Learn How to Make a Bean Bag Chair for Your Kids
What You'll Need:
- 2 pieces of upholstery weight fabric (32” x 45”)
- 22” zipper
- 3.5 cubes of bean bag filling
- Sewing materials
Step 1: Cut out Fabric Pieces

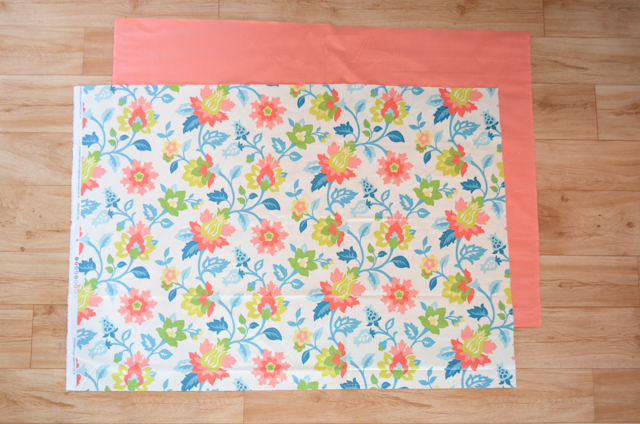
The bean bag pattern you need to follow is quite simple. Start by outlining and cutting 2 fabric pieces of the same size—45″ x 32″. To make your kid's bean bag chair double-sided by using two different colors and patterns of fabric.
Step 2: Start Sewing
Put your identical sized pieces of fabric one over the other for their edges to match. Make sure the right sides are facing each other.
Start stitching them together all along the raw 45″ edges. A zig-zag stitch is perfect for kids bean bag chairs as it prevents shredding. Go over the edges a second time with a straight stitch to make the bean bag for endurance.
Step 3: Remove the Excessive Fabric

Proceed by folding the fabric in half and match the sewn edges. Outline the rounded edge you are going to cut out.
Opt to remove 6″ of corner fabric to get the proper shape of kids bean bag chairs. Take your scissors or rotary cutter and start cutting from the folded side towards the unfolded one.
RELATED: Crafty And Adorable Quilted Lunch Bag For Your Kids
Step 4: Final Stitches
Before you proceed with the final stitches, unfold the fabric back again. Make a zig-zag stitch along the raw curved edge and seal with a straight stitch.
At this point, you should have only one unsewn edge. This is where you should add the zipper.
Step 5: Sew the Zipper
Sew the zipper into the opening with a double straight stitch on each side. Try to hide the zipper with the fabric and make it invisible.
Step 6: Fill the Bean Bag
This is the easiest and probably the most fun and exciting step of all! Turn the fabric right side out and go get your bean bag filling. One bag of 3.5 cubic feet is perfect to fill and plump up this particular kids' chair.
Start the fill-up through the open zip side. The tiny pellets are really easy to spill so consider getting a helping hand for this step.
Step 7: Enjoy the Comfy Bean Bag Chair
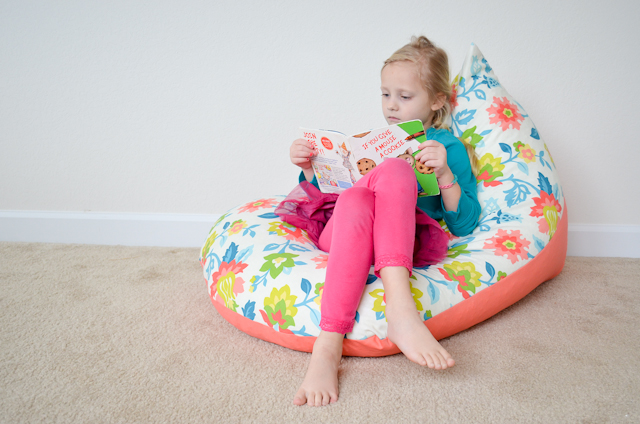
Now just close the zip and the bean bag chair is done! Enthuse your little ones and let them enjoy their new comfy chill zone. Feel free to flip the bean bag whenever your kids feel like it. Since we've used different fabric colors and patterns for both sides, the chair is absolutely reversible.
See how easy you can recreate this DIY kids bean bag chair in this video from Homedit:

We hope you enjoyed this crafty sewing project for home! Not only you ended up with an adorable piece of furniture, but your kids can enjoy some quality time on this comfy chair.
What is your favorite thing about kids bean bag chairs? Let us know in the comments section below!
UP NEXT:
- 11 Fun Sewing Ideas For Moms And Kids
- How To Make A Fun Sailor Outfit For Your Kids | Step By Step Guide
- 39 Best Sewing Hacks That Will Make Your Life A Breeze
We aim to feature the hottest trends in the sewing world, so get in touch if you can contribute! WRITE FOR US!
Stay connected with us on Facebook, Twitter, Instagram, and Pinterest!