

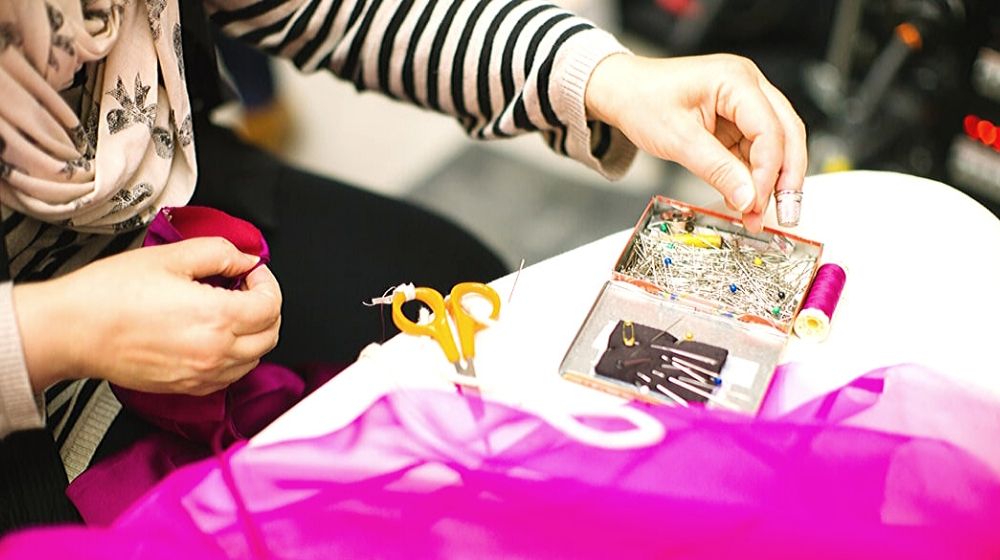
Learning how to sew by hand is truly a rewarding feeling. So if you have little to no experience in sewing by hand, we got you covered with this beginner's guide.
RELATED: Hand Sewing: 11 Tips and Tricks For Beginners
In this article:
How to Sew By Hand | Beginner's Guide
What You'll Need
- Spool of thread
- Scissors
- Sewing needle
- Two pieces of fabric
The Process
Step 1: Pull out the Thread
Start by pulling out the thread from the spool. Only take a decent length since we don't want it to get tangled up. Once you have the right amount, cut it with scissors but don't cut it straight.
Cut the thread at an angle so it will have a smaller tip and no stray frays.
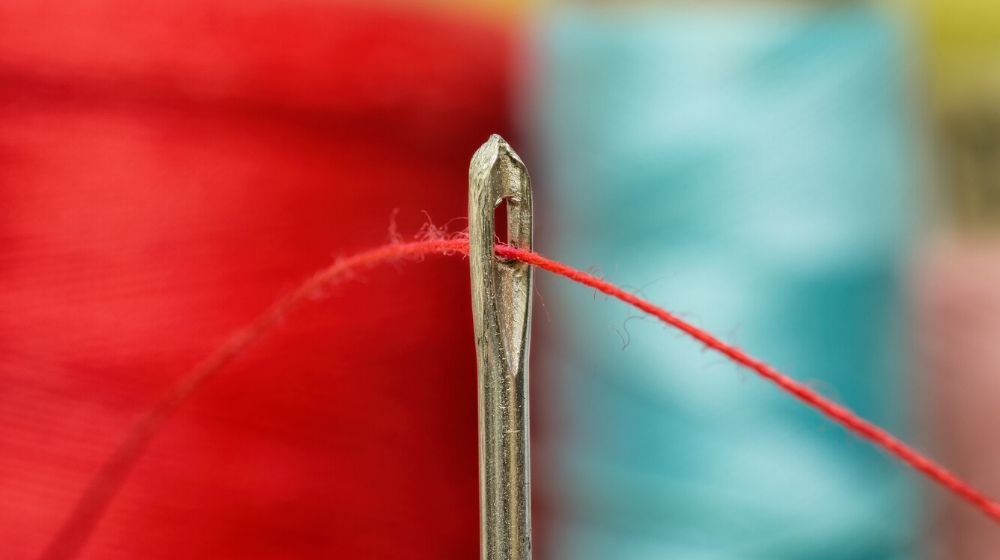
Step 2: Weaving the Thread Inside the Needle
The next step is to insert the thread into the needle. This can be a real challenge especially for people with poor eyesight.
Fear not because there are ways to easily do this. For starters, roll the tip of the thread between your thumb and index finger so all the stray frays will be aligned with the tip. You can also put some water or saliva at the tip so it will stay sharp.
Step 3: Securing a Knot
Learning to sew is not possible without learning how to tie a knot. Once you managed to insert the thread into the needle, pull it all the way until both ends are aligned.
Then, put the needle in between your index finger and thumb. Wrap the thread around the needle three times then pull the thread through and just like that, you have yourself a knot.
Step 4: Starting to Sew
Align the two pieces of fabrics then insert the needle through where you like to begin sewing. Avoid starting at the edge because it has the tendency to mess up the over and under pattern.
You won't be able to fully stretch the fabric if this happens. A centimeter away is ideal for practice. Pull it all the way through until the knot at the end of the thread hits the fabric.
Step 5: What to Do Once the Thread Runs Out
Continue the over and under pattern and keep it straight as much as possible. Make it a habit to keep it at least half a centimeter apart to improve your precision.
If you're running out of thread on the needle, tie another knot then cut it. Make sure it is long enough that you can wrap the thread around the needle just like in Step 3. Once done, repeat Steps 1-3.
RELATED: 9 Free Online Sewing Classes for Beginners
Step 6: Tying the Final Knot

Now that you're getting the hang of the back and forth motion, it is time to tie the final knot. Don't fret if you're about to reach the finish line and your perfectly even patterns will be messed up.
As long as you had it the same length apart, the final output will still look flawless. Once done, tie a secure knot for about 2-3 times.
Now that you have a grasp on how to sew by hand, it is also important to know the different styles of stitching you'll be using a lot.
Basic Stitching Pattern
Running Stitch
The most basic of all stitching patterns, running stitch is basically stitching by forming a line of small, even stitches that run in and out through the cloth without overlapping. Just remember to start from underneath since you want the knot at the back.
Back-Stitch
Back-stitch is required when you need a stronger stitch. First, do a normal stitch, then poke the needle back to the top and start your second stitch from where the first one ended and pull through.
Simply poke the needle back to the top and stitch to where the latest stitch ended. Continue this pattern until you finish.
Blanket Stitch
Blanket stitch is used when stitching two edges together. For the first stitch, insert the needle in the same place, pass the needle through the loop and pull.
Insert the needle a small distance away from the first stitch. Pass the needle through the loop and pull.
Safety Reminder: Using a Tailor's Thimble
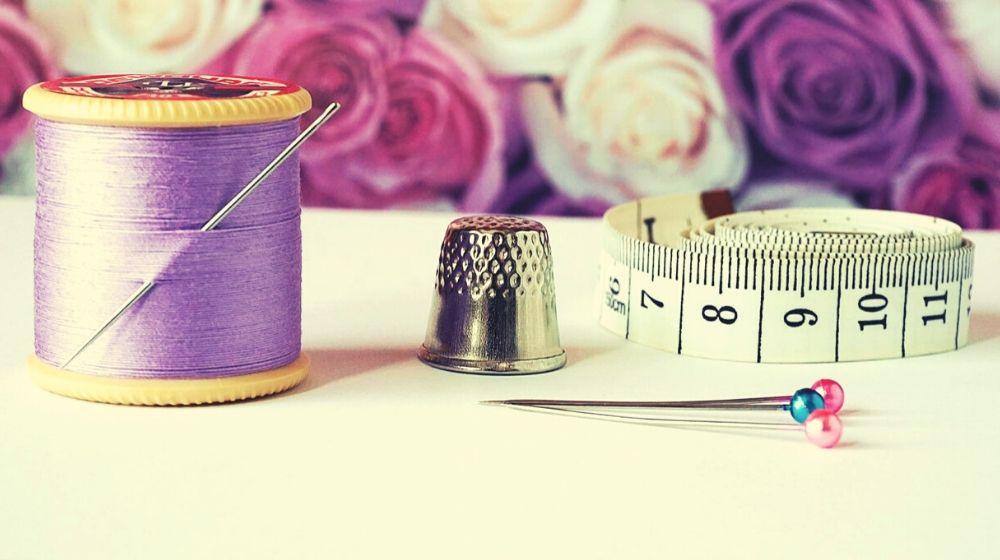
Get used to using a tailor's thimble. Use it on the middle finger of the hand that holds the needle.
When you hand sew, it is typical to push the back of the needle with this finger. Worry not, newbies often have their finger tied down in the right position and that's fine.
Keep practicing until it becomes second nature.
Want to learn more hand stitching techniques? Watch this video by The Daily Sew:

As the saying goes, practice makes perfect! Begin by practicing your hand stitching with the types of stitches you are planning to use.
Just do it row after row until you can make consistent and even stitches. Have patience and learn to love the process.
Sure, it's going to be hard at first so avoid overthinking until you finish your project. Revel in the act of seeing something instead of having something that’s been sewed.
Learn different stitching patterns along the way, and you'll have a variety of them in your arsenal. Then, you can properly decide which one to use for what. Good luck!
Which of these tips do you find most useful? Share your thoughts in the comments section below!
UP NEXT:
- 5 Best Sewing Machine Reviews of 2019
- What Is The Best Leather Sewing Machine For You
- 11 Hand Embroidery Stitches Every Sewer Should Know | Sewing
Editor’s Note: This post was originally published on November 21, 2019, and has been updated for quality and relevancy.