


Hand embroidery is one of the oldest and most beautiful sewing skills one could master. And as a bonus, this sewing skill isn’t even difficult to learn! Start your first embroidery project with this easy guide to hand embroidery!
A Beginner’s Guide to Hand Embroidery in 4 Easy Steps
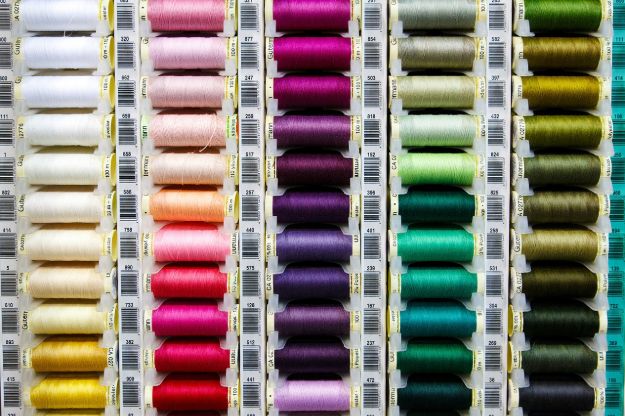
Armed with your choice of fabric and some threads, you are already on your way to mastering hand embroidery! This sewing technique may seem challenging at first glance, but I assure you it’s just as easy as starting to learn how to sew! Once you’ve mastered this technique, you can begin sewing complicated and artistic embroidery designs. Gather your essential hand embroidery tools and let’s start!
Materials You’ll Need to Start Hand Embroidery
- Embroidery Hoop
- Sharp Needles
- Embroidery Floss
- Fabric
- Thread Heaven
Step 1. Prepare Your Embroidery Hoop
First, separate your embroidery hoops from each other. Embroidery hoops come in three materials: plastic, wood, and metal. Plastic hoops offer that snug fit that can really help you in your project. Wood hoops may sometimes need an extra lining between the hoops to get that nice snug fit. Metal hoops, meanwhile, are rare to find and can be found in vintage shops.
Next, unscrew your loop and sandwich your fabric in between your hoops. Make sure your fabric is pulled taut to facilitate better stitching. Once you’ve made sure your fabric is nicely sitting in between hoops, you can now secure them by tightening the screw.
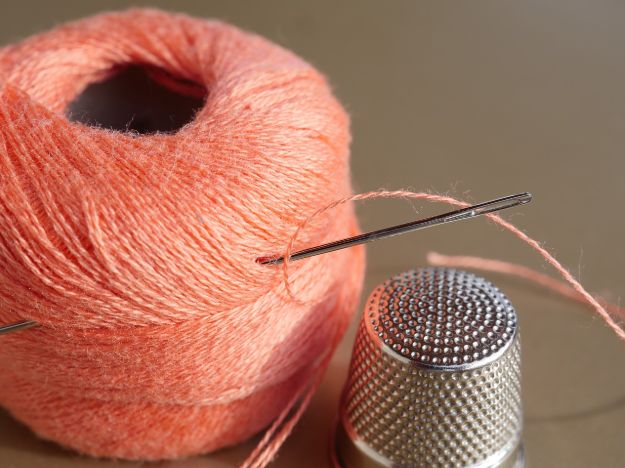
Step 2. Thread the Needle
Here’s where hand embroidery differs from regular sewing: hand embroidery requires you to separate your embroidery floss into strands. The thickness of your stitches varies with the number of strands you use. Usually, embroiderers choose between one to six strands of embroidery floss.
All I need today, and some ice cream, too! Right, #sewingaddict?😊 📷:@unrelatedhaze
A post shared by Sewing.com (@sewingdotcom) on
For this tutorial, we used six strands cut to elbow length. To prevent snagging and unnecessary knotting, keep your threads at a nice length that is not too long.
Tip 1: Use the rough part of a Velcro to separate your embroidery floss into strands. Hold your floss against the Velcro with your thumb and gently pull on the thread.
Tip 2: This is an optional step but to keep your threads strong, you might want to run your strands across a thread conditioner.
Step 3. Begin Stitching
Here’s the beginning of the fun part: Stitching! Like your basic sewing stitch, you begin this part by inserting your needle behind your fabric and pulling out your needle and thread almost to the end. Hold the tail of your fabric underneath your fabric, as shown in the picture above.

Re-insert your needle on your fabric and create a stitch about ¼ in stitch length. Exit your fabric a stitch length through your needle and re-insert your needle again through the same hole that marks the end of your first stitch. Voila! You’ve just made your first backstitch! Continue your stitching until you complete the length needed.
Step 4. End Your Stitch
There are three ways on how to end your stitch. First, you can weave your floss in between your stitches. Turn to the wrong side of your fabric and weave your floss by inserting your needle under the stitches.
Second, you can tie a basic knot. Create a knot and insert your needle into the knot as it tightens. Keep the sharp point of your needle pointing against the fabric as you slide down your knot. This will tighten your knot against the fabric, securing your stitch.
Lastly, you can tie a split knot when your floss is on the shorter end. Split your floss into two threads and create a knot with them. Cut the excess with your scissors and voila!
Get a detailed step-by-step tutorial from Jenny Hart of sublimestitching by watching her video tutorial in Kin Community:

Congratulations! You’ve now finished your first hand embroidery lesson! Isn’t that easy? Soon enough you’ll be creating wonderful embroidery masterpieces!
Do you know some tips and tricks in hand embroidery? Let us know in the comments below!
Want to learn more kinds of hand embroidery stitches? Check out the11 Hand Embroidery Stitches Every Sewer Should Know!
Follow us on Facebook, Twitter, Instagram, and Pinterest!
Editor’s Note – This article was originally published on June 23, 2016 and has since been updated for quality and relevancy.