

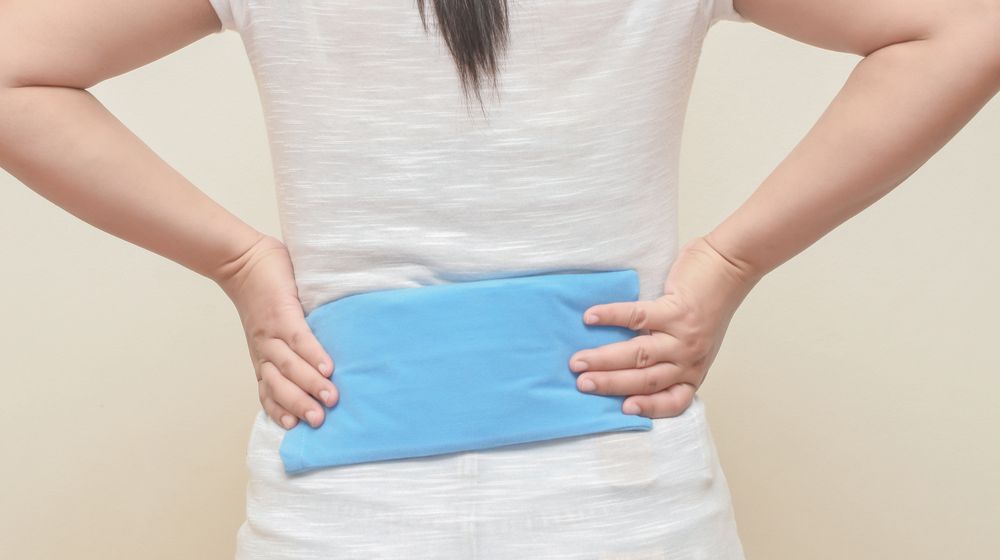
Want to make your own therapeutic cold pack with organic fillers? Yes, you can easily make this essential first aid item, so stick around as we share this sewing project to make a DIY therapeutic cold pack!
DIY Cold Pack Sewing Project For Your First Aid
Sewing, for the most part, covers fashion, home decor, furnishing, and arts and crafts. Amazingly, sewing can also promote our physical well-being in the form of a homemade therapeutic hot or cold pack you can sew. Every practical mom or dad should get a hold of this sewing skill. Not only are we able to save a few bucks from a homemade pack, but we get to make it the organic and natural way. It's also easy to make and perfect for the colder fall and winter season.
Let's Get Started!
What You Will Need:
- Organic fillers (raw and dried rice, corn, flax seed, lentils, among others)
- Scent/essential oil, dried herbs, and spices
- Container for mixing
- 100% cotton fabric or flannel (avoid fabric with glitters, sparkles, or metallic finishes)
- Needles and thread
- Sewing machine
- Scissors
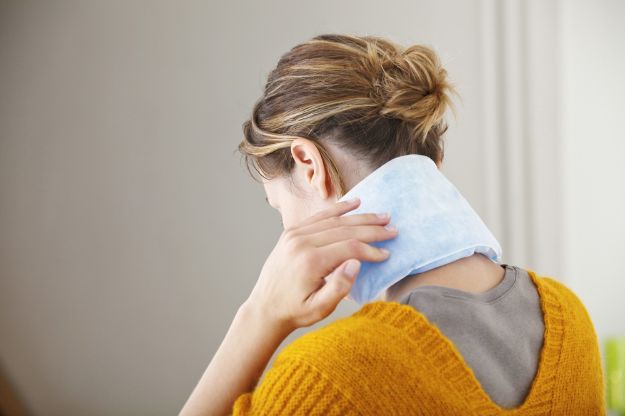
Whether you are #traveling or just at home, you can always get some quality rest with this easy #sewing pattern.
👉https://t.co/ExxFZGjhdi pic.twitter.com/TvR7G0Guo2— SewingDotCom (@Sewingdotcom) August 20, 2017
How To Make A Homemade Cold Pack
Step 1. Mix Ingredients For Filler
The first thing to do is to mix the ingredients for your filler in a clean and dry container. Now the idea is not only to make an organic hot or cold pack but to make it therapeutic as well. We can do that by mixing essential oils and other dried spices and herbs to harness their therapeutic scent. It also helps hide or overcome the funny smell flax seeds or rice might have.
- Put flax seeds and rice in different containers and mix in essential oil and dried herbs.
- Leave it covered for a day for the scent and essential oils to marinate or set in the rice and flax seeds.
Step 2. Layout Pattern
We are going to be making a hot or cold pack for the neck and shoulders so the first thing to do is to make a pattern. You can measure your neck and shoulders to get the right fitting. You can also make your therapeutic pack longer so that it extends to your back for your back pains.
Draw a ‘U' shape on your fabric by folding your fabric in half and drawing a slanting line from the folded part to the top of the fabric, then cut.
Step 3. Sew Pattern Edges
Sew along the edges all the way around (except the top part because you will be using it to put the filler) with a zigzag stitch to reinforce the fabric. You'll notice that we are using two different kinds of fabric. But it's up to you what color or design of fabric you can use as long as it has no glitter on it or sparkles.
Step 4. Mark And Measure Every Two Inches
Once your pattern is stitched up and all openings closed except for the bottom part, you can now flip it inside out. Take a ruler and measure every 2 inches from the ‘U' top to the bottom, and mark it visibly. We are going to stitch these lines after filling it with the organic filler, so it stays evenly distributed and won't bunch up when in use.
Step 5. Fill The Pack
We are now ready to fill the pack with rice, so you need to put your sewing machine on stand by. Make a makeshift funnel from a piece of paper by rolling it into a cone, allowing a wide top and a small opening at the bottom.
- Stick the paper funnel all the way to the bottom of the pack.
- Scoop a fourth of a cup of filler into the fabric, give it a good shake and the rice will slide down easily into the bottom.
- Sew a linear stitch along the line you've previously marked.
- Repeat the process with the other side, and the rest of the therapeutic pack.
Step 6. Secure Bottom
Finally, give your hot and cold pack a good shake so the filler settles at the bottom and you can easily sew the top. Hand stitch the therapeutic pack to secure the top.
Finished DIY Heat And Cold Pack
There you go, practical crafters, a finished DIY organic-filled hot or cold pack. Now you can easily make a leg and foot warmer, little cold packs for your little ones, and even gifts for your friends and family.
To heat your therapeutic packs, microwave larger ones for 1 minute or until warm. For smaller ones, especially those for your kids, heat for 15 seconds and always test on the back of your hand before applying. For cold packs, you can just leave them in the freezer until you need them.
You can also watch the full video tutorial here to learn more details:

Now you know what else your sewing skills are good for. Imagine a therapeutic hot or cold pack you can make for everyone in the family. What I really love about this project is the organic and therapeutic part. So before the pressing need to buy a plastic and synthetic material-filled hot or cold pack gets to you, make this easy therapeutic cold pack now!
Which of the machine embroidery designs will you give a try? Share your thoughts about it in the comments section below!
Up Next: 79 Crafty DIY Potholder Sewing Patterns To Add Life To Your Kitchen
Don’t forget to follow us on Facebook, Twitter, Instagram, and Pinterest!
Editor’s Note – This post was originally published on June 2016 and has been updated for quality and relevancy.