
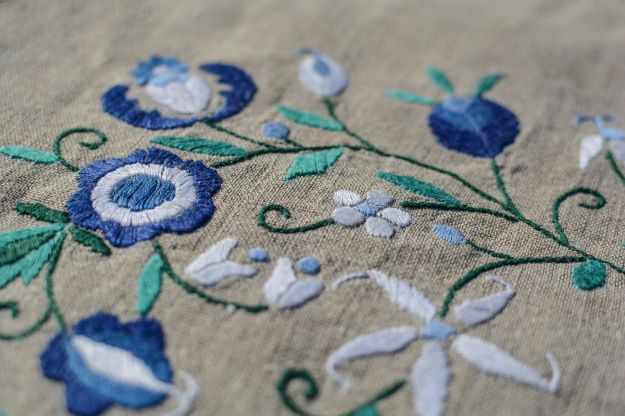
Embroidery stitches are so beautiful to look at that we often get intimidated by it. The three-dimensional splash of color on the fabric excites our eyes because of the varied textures it can create. You now have the ability to create the same sensation with this simple tutorial. Just use your imagination!
Basic Embroidery Stitches: The Satin Stitch
Adding a New Dimension to Your Embroidery Stitches
If you want to add texture and a splash of color to your embroidery stitches, you can try a basic embroidery skill using the satin stitch. The satin stitch, also known as a damask stitch, is one of the popular embroidery stitches used to fill an opening in a pattern.
There are three ways of doing this. The first is to outline your pattern with a backstitch then cover the entire space with a satin stitch. Another is the padded satin stitch. This involves backstitching the inside area of the pattern before covering the entire pattern with a satin stitch. The last one, which we will discuss in this article is the no-frill way of doing the satin stitch which is to just fill in the open space with the satin stitch.
Step 1: Draw a simple pattern for your embroidery stitch
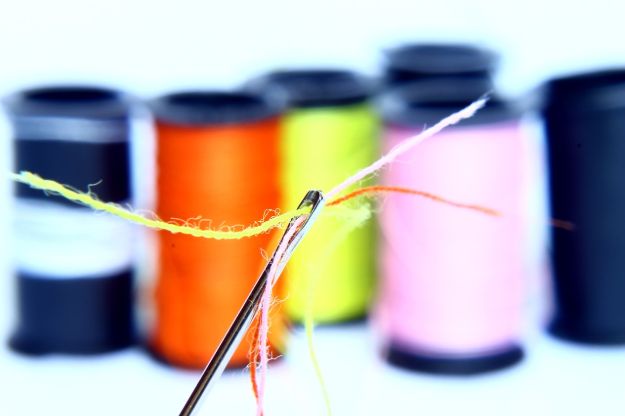
Step 2: Thread the needle
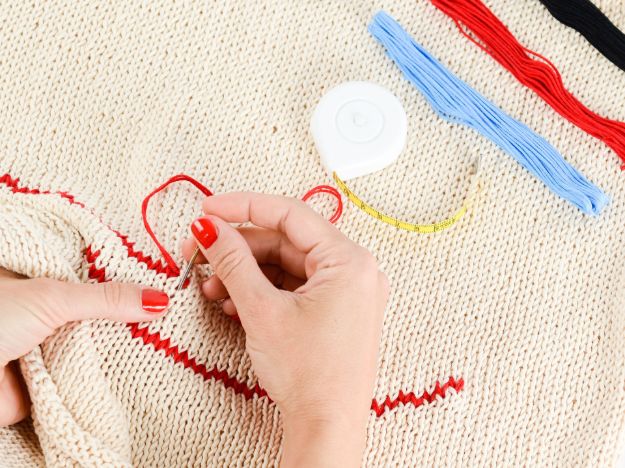
Step 3: Satin stitch the entire area
Check out DIY Projects: Arts, Crafts & Sewing, Origami step by step video tutorial on how to create a satiny texture to your embroidery. It's so easy!

Try learning your basic embroidery stitches on a scrap piece of fabric first. Focus on the tension of the stitches and closeness of the thread lying next to each other to create a smooth and finished look.
Sew much fabric…sew little time! Looking for more shear madness? Click here.
Like this? You’ll also like these:
9 Lovely Sewing Projects to Transform Your Bedroom
Embroidery 101 | Easy Hand Embroidery Tutorial For Beginners
The Backstitch | DIY Embroidery Stitches