
Threading a sewing machine? No Sweat! But, how to thread a sewing machine properly? That can be tricky. I mean sewing machines these days make things look so easy. Having and following the manual sounds handy too. Yet, once you get hold of this electric home appliance, the simple task of threading can be daunting, especially if you've just started out sewing as a hobby. Worry not! I've written this blog and called it Sewing 101 because this should help you learn the basics of threading a sewing machine. Once you master this guide, all your sewing projects including quilting and embroidery become easy.
Sewing 101: Learn How to Thread a Sewing Machine Properly
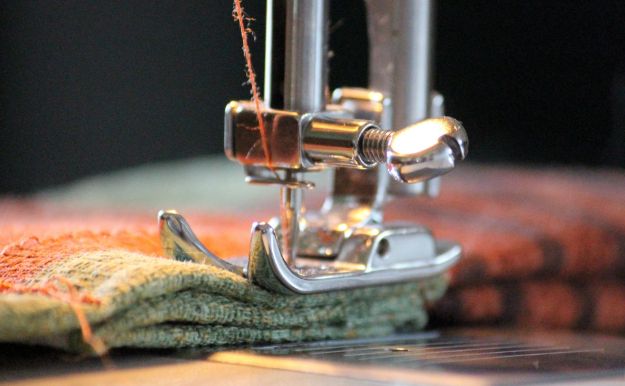
How to Thread a Sewing Machine
-This post is courtesy of diyready.com and shared with permission. –
Threading a sewing machine is as easy as 1 2 3, literally, because the faceplate is typically numbered with the steps you must follow as you guide your thread through the machine. This example uses a modern Singer Sewing Machine, but all machines follow the same basic principles.
Supplies you will need to thread a Singer sewing machine:
- Sewing Machine (Singer or practically any other model)
- Thread
- Bobbin
Step 1: Place Spool on Sewing Machine
Place your thread over the spool pin (the stick on the top of your machine).
Step 2: Place Cap over Spool
If your spool pin comes sideways or at an angle, place the spool cap over it so it stays in place. You can find the spool cap inside of the storage compartment on your sewing machine. If your spool pin sticks straight up, this step is not necessary.
Step 3: Thread Sewing Machine by Following Numbers
Follow the numbers on your sewing machine as you guide the thread through the tabs. These tabs are called thread guides. If there are no numbers that's ok, it's still very simple.
Step 4: Begin Threading Sewing Machine
Bring your thread through the first and second guides, across the top of your sewing machine.
Step 5: Thread Down Front of Sewing Machine
Bring your thread down the front of the sewing machine, through guide number 3 which is the vertical groove on the front .
Step 6: Thread Back Up The Sewing Machine
Bring the thread under and around guide 4 and up to the top of the machine again, It will lay in the vertical groove, to the left of guide 3.
Step 7: Bring Thread through the Thread Takeup on the Sewing Machine
Once you've reached the top of your machine again, place the thread through the 5th guide, also known as the thread take up. If you don't see your take up, you can rotate the hand wheel on the right of your machine. This wheel turns the lever that lifts the thread and needle up and down. Place the thread through the small groove inside of the lever.
Step 8: Bring Thread Back Down Sewing Machine
Pull the thread down through the thread take up. It will go back through the same groove as before with guide 4, but this time come out through the bottom of the machine.
Want to see the Full Article?
Keep reading here on our sister site DIY Ready
Can't get enough of sewing tips and techniques? Click this link to learn more.
Like this? You’ll also like…
Hand Sewing: 11 Tips and Tricks For Beginners
10 Sewing Techniques All Sewers Should Master
25 More Sewing Hacks To Make Your Life Easier