
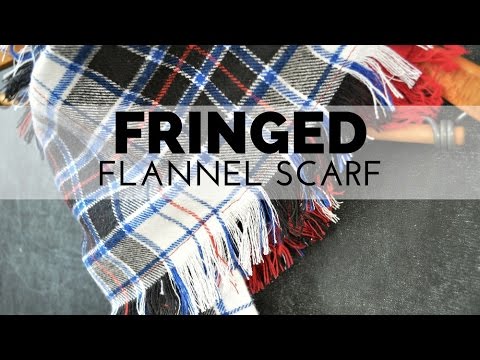
A fringed flannel scarf is an easy sewing project you can use for both fashion and comfort. You can simply mix n' match your wardrobe to create your own fashion statement! You'll love to wear a flannel scarf because of its warmth, and the comfort that it gives. The fringe is a bonus that adds style to your outfit! Keep it here and learn how fast it is to sew one. Here we go!
Sewing Tutorial for a Cozy Fringed Flannel Scarf
The days are getting noticeably colder which brings me to always have my trusty flannel scarf whenever I go out of the house. One chilly morning, while I was sipping coffee and marveling at the cup cozy I made wrapped around it, I noticed how worn out my scarf looked. Probably because I’ve been using it for years! So to give myself a scarf-reboot, I’ve decided to sew myself a fringe flannel scarf. I particularly love its softness and texture, most especially the fringe surrounding the whole flannel scarf.
Join me as I mark today’s sewing calendar for learning this great flannel scarf tutorial. It’s simple enough and definitely worth your time and effort!
You will need:
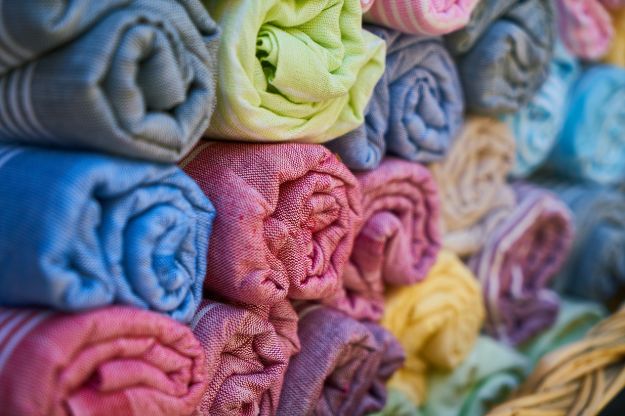
- 2 lengths of Flannel Fabric (choose the ones with coordinating patterns)
- Measuring Tape
- Ruler
- Rotary Cutter
- Thread
- Pins
- Seam Ripper
- Sewing Machine (optional)
Here are the steps:
Step 1. Cut out desired scarf measurements, plus fringe length

Mark the desired length and width of your scarf. Double the width and add the length of the fringe, then cut. Like here, we used 6 inches for the width, double it to get 12 inches, plus an extra 3 inches for the fringe.
Step 2. Pin fabric together

Pin the 2 fabric together with the ends overlapping on the right side of the scarf. Put your last pin in the area where your fringe will start.
Step 3. Sew with a straight stitch
Sew a straight backstitch to complete the length of your scarf.
Step 4. Fold and sew again
Fold your fabric lengthwise, leaving the extra 3 inches of your fringe. Then sew the folded fabric together with a straight backstitch.
Step 5. Create fringe
Use your seam ripper to remove the horizontal fibers of your flannel. This may take around 5 hours, so try to be patient with it until you reach the bottom body of the scarf.
Step 6. Comb fringe
Straighten your fringe with a comb.
Step 7. Trim fringe
Trim the excess fringe with a ruler and a rotary cutter to make the ends clean and straight.
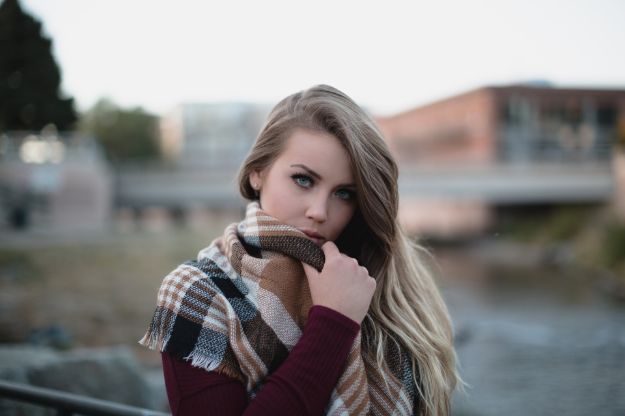
Step 8. Wrap around and done!
Wrap your fringed flannel scarf around your neck and you are done!
If you want to see the video of how this flannel scarf was done, here's one by Jessica Hill. Enjoy!
A flannel scarf is a winter essential that somehow gives off that extra oomph of testosterone while still keeping it chic and classy. I think flannels are a tidbit manly, and when I wear one, it gives me bravado to conquer the world. Even my husband uses my flannel scarf and he secretly loves it! Who else in your family loved your flannel scarf? Let me know all about it by sharing them in the comment box below. Thanks and keep them coming!
Would you like to learn another way of making a cozy scarf? Learn how to crochet a scarf with this easy tutorial right here, now!