
Fall is here and this DIY kimono is a great sewing project that will definitely have a well-deserved place in your wardrobe. Check out the tutorial below to learn how to make your own!
DIY Kimono: Easy Steps to Make Your Own
A kimono is a fun piece to add to your wardrobe, especially this fall season where layering your clothes is always a good idea. Mind you, I've always been baffled at how pricey kimonos are priced in retail stores, which is why making your own is just as practical as it can get. This kimono sewing project is very easy and you might even finish it before saying the word kimono. So here are the steps you need to take to sew a DIY kimono:
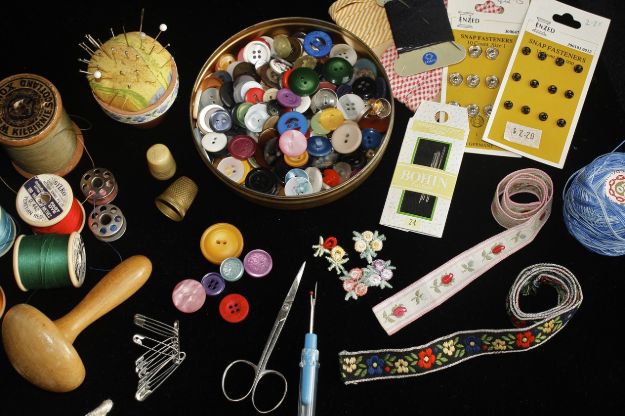
What You'll Need:
- 40 by 55-in piece of fabric (silk or chiffon)
- pins
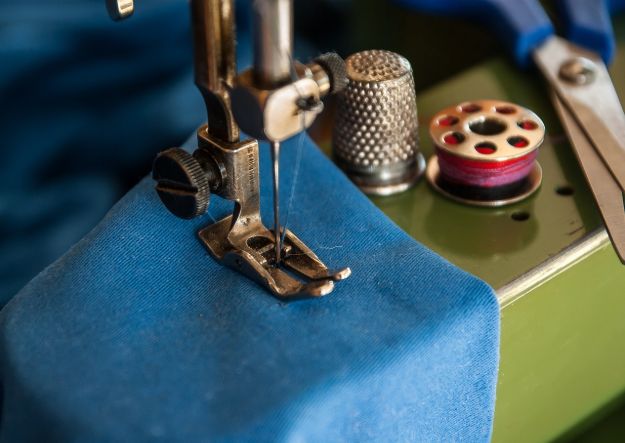
- sewing machine
- tailor’s chalk
- fabric scissors
- ruler
Step 1: Fold the Fabric
Fold the fabric in half so you'll have two layers to work with. Mark the center of the fabric with a pin.
Step 2: Measure the Fabric
Before measuring the fabric, determine the length of the sleeve you prefer. A good start is to measure the length of your arms and see if you want to add a few inches or not. In this tutorial, 70cm was used as the measurement.

Step 3: Cut One Layer
Now that you've determined the length of the sleeves, you can go ahead and cut one layer all the way up to the center (the fold you made back in Step 1). For an accurate cut, mark the center line with pins and use this as your guideline.
Step 4: Measure the Sleeve
It's time to decide how wide your sleeves will be. Using a measuring tape, start at the center of the fabric and measure the width of the sleeves. After that, you can measure the width of your kimono. In this tutorial, the width of the sleeves is 38cm, while the width of the kimono is 40cm.
Once you've done measuring and marking the fabric, cut along the guidelines. By now, you should have a T-shaped fabric.
Step 5: Assemble and Sew
For the side seam, you will only do a fringe seam. So, what you need to do first is to pin the edges of the fabric together. Go ahead and sew that; the side seam can measure 5mm from the edge of the fabric. Once the seam is secure, you can trim the excess fabric and then fold the seam back in itself.
The first seam is actually for making it look tidier from the inside. This means that you have to sew another seam again, this time, on the front side of the fabric. Do this for all the edges except for the sleeves. With the sleeves, fold the edges at least two times and hand sew the edges.
You can now press or iron the kimono!
And you're done!
Watch shopstyleconquer's full video tutorial below from:

When it comes to seasonal fashion, I must say that I love fall fashion the most! I love layering clothes that keep me perfectly warm. And I like that I layer clothes that aren't too bulky or thick compared to winter fashion. Anyhow, I hope you enjoyed making your own DIY kimono. Before I go, just a tip, your kimono will look great with a shirt and jeans outfit or even a maxi dress!
Do you have any other technique for making a DIY kimono? Share it with us in the comments section below!
Up Next: 17 Quick and Easy Sewing Projects You Can Do This Fall
Editor's Note – This article was originally published in August 2016 and has been updated for quality and relevancy.