
Getting the correct dress measurements is important for accurate fit. Keep reading to make sure you're doing it the right way!
Sewing | Easy Guide on How To Take Your Own Dress Measurements
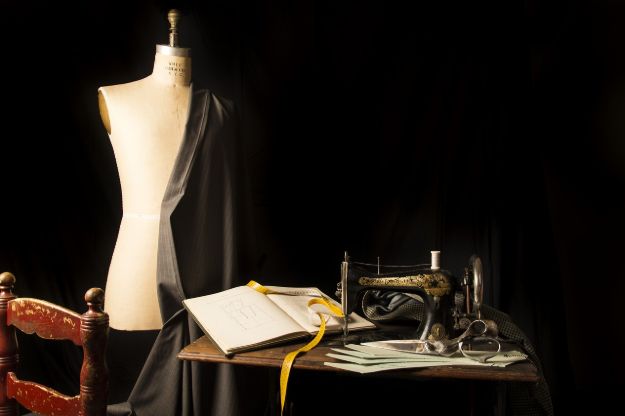
When sewing a dress, one thing you've got to be sure of is getting the accurate measurements first! In order to do so, you need to learn the ways on how it's properly done. This is crucial because once you've cut your fabric, and you realize you did it wrong, you can't bring it back to its original size!
If you have doubts about getting it right, check out the infographic below:
Thanks to rissyroos for the infographic.
Click here to enlarge.
HOW TO TAKE YOUR DRESS MEASUREMENTS
You'll need:
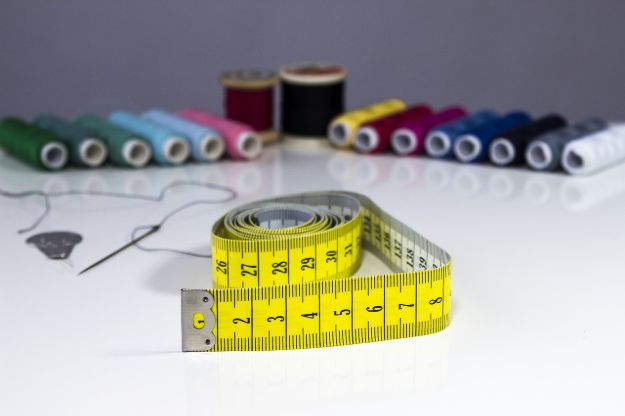
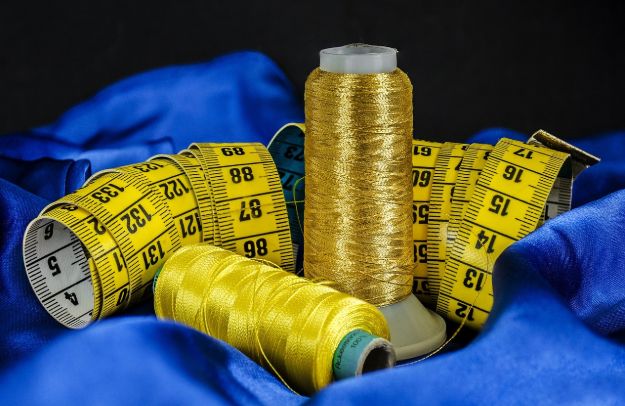
A flexible measuring tape
If you do not have a flexible measuring tape, measure around the body with a piece of string, then use a ruler to measure the string.
Step 1. Bust Measurement
Wrap the tape measure under armpits, around the body, and at the fullest part of the chest.
Step 2. Waist Measurement
Measure around your waist — this should be above the belly button but below the rib cage.
Step 3. Hip Measurement
Stand with your legs about 6 inches apart and measure around the fullest part of your hips.
Tip: Remember to keep the measuring tape comfortably loose to avoid getting a size that is too tight.
And that's it! Getting the correct dress measurements is not that complicated. With this guide, we're sure you'll be able to create your perfect dress in no time! Don't forget to wear your statement necklace for that Instagram-worthy OOTD! Have fun and happy sewing!
Want to discover easy sewing ideas? Click here.