
Sewing a modern DIY kimono in 30 minutes may sound ambitious, but what if I will tell you that this is all done by hand?! Yes, you've read it right! Sewing a kimono by hand in less than half an hour… Now that's fast! A fashionable kimono top can be paired with any type of outfit these days, it's just a matter of mixing and matching to end up with a selfie-worthy OOTD. If you are a stylish sewist who is in a hurry to get a project done for the day (or the hour!), then keep reading! This 30-minute DIY classy kimono top is the perfect project for you.
Make A Classy DIY Kimono In 30 Minutes Or Less!
Be Fashionable With This Simple DIY Kimono Tutorial
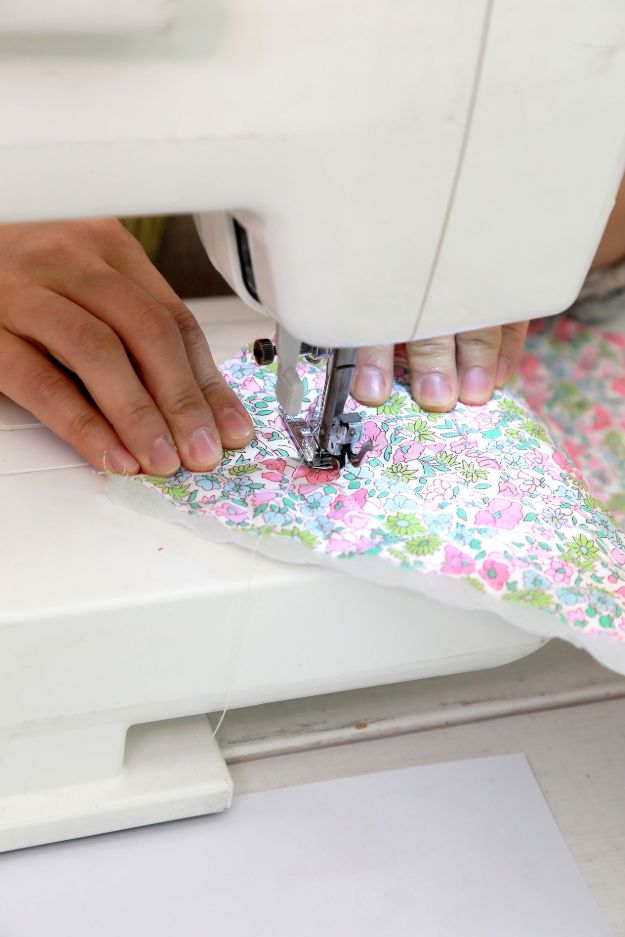
Believe it or not, I finished sewing this classy DIY kimono in 30 minutes while riding a bus on my way to work! I just needed a cute cover-up to complement my white-shirt-and-jeans get up and something to tinker with during my commute. It also helps to keep my good ole wrist from getting rusty. I own a sewing machine, but there are times when I feel like putting my hand sewing talents to good use every once in awhile, (can't use a machine when you're on a bus!) like when making 5-minute sewing projects. And so to save time and for the sake of fashion, here' a 30-minute elegant DIY kimono for the on-the-go sewing chick like us! Read on and learn how to make one!
What you will need:
- 1 & 1/2 yards of Scarf ( to eyeball: fold scarf in half and see if the folded edge reaches the length from your left elbow, across your shoulders all the way to your right elbow)
- Measuring tape
- Pins
- Needle
- Thread (use the one that matches with the scarf)
- Scissors
- Iron (optional)


- Size: y (xsm-sml-med)
- Sewing rating: very easy
- For rectangle, hourglass, triangle and inverted triangle figures
- Copyright 2018
- Printed in the u.S.A
What you will do:
Step 1. Measure the side under the armhole
Fold your scarf in half with the inside out, placing the folded side on top and measure 30 cm or 23.6 inches from the opened side.
Then mark with a pin. Do it on the other side as well.


Step 2. Sew the seam
Start sewing by inserting your needle on the bottom corner. Make a double loop with your thread as a starting point.
Then sew a running stitch on the seam from the loop going towards your marked pin.
Tie a lock when you reach the marked pin and repeat steps 3 to 5 from the bottom corner of the other side.

- Authentic, vintage (circa 1950-70) Japanese kimono fabrics
- Silks and Synthetics
- 10 Haori Jackets
- Total Length 70 to 90 yards (7 - 9 yards per haori)
- Widths range between 6 to 14 inches
Step 3. Cut the center fold
Fold the scarf in the middle to find its center, and then cut the front portion of your almost-ready kimono.
Step 4. Sew the crease
Fold an inch to make the crease with the right sides away from each other. You can either iron the crease or use pins to keep the fabric folded while you sew a straight stitch, one centimeter from the crease. Do this for both cut sides.
Trim any excess fabric from outside of the seam for both sides, and you're done. You are ready to rock that kimono!
No products found.
You can also check this video tutorial by LaurDIY in making this classy kimono:

Would you like to know how to DIY a stylish handkerchief to match an outfit this season? Learn how to sew your own hanky here, now!