
Do you want to learn how to sew a summery pair of DIY espadrilles? This fab footwear seem to never go out of style during the summer. They are cute, comfortable, and versatile for the hot and humid weather. With this tutorial you can have your own DIY espadrilles!
Who knew we could actually DIY espadrilles? Now that Summer is at its peak, you can be cool and comfortable with a pair of DIY summer shoes. Try customizing your own footwear to express your personality. You can go outside the box and get artsy with colors and accessories, too! Don't be afraid to try anything that shouts happy summer! We also love the fact that this sewing project will only be using materials that are cheap! Plus, the process is easy.
Learn How to Sew this Cute and Summery Pair of DIY Espadrilles
Make this awesome footwear from scratch!
Summer is the perfect time to wear comfortable DIY espadrilles. They are simple and cozy but chic as well. They come in different colors, height, and design. I just can't get enough of them! The best part about it is that you can create one pair yourself! Who would have thought it's possible? But hold on a bit and I will walk you through this fun DIY espadrilles tutorial!
For this DIY espadrilles, you'll need:
• Espadrilles Soles in your size (pattern is included)
• Espadrilles Tool Set (needles, pins, point turner, needle pullers, beeswax, fusible stabilizer)
• Espadrilles Yarn (we used “bone”)
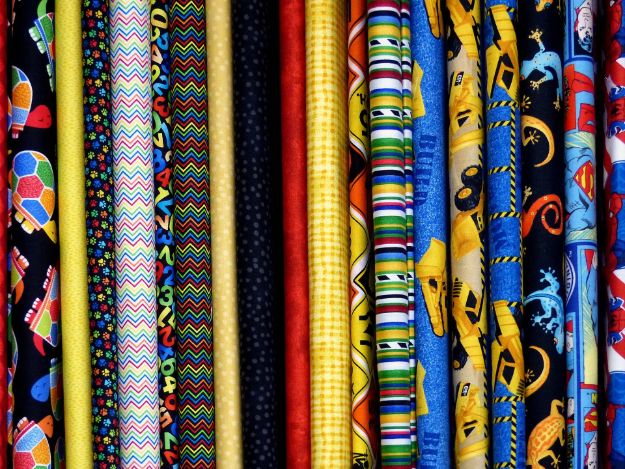
• 1/4 yd outer fabric (we chose two: a flamingo print and a chambray)
• 1/4 yd lining fabric (we used a pink striped canvas ticking)
• Paper scissors
• Fabric shears or rotary cutter and mat
All of these materials are available at Nancy's Notions.
Let's get ready, set… sew!
Step 1. Cut the fabric according to the patterns
First, we will carefully trace the patterns on the fabric. Then we'll cut two mirrored pieces of each pattern for the outer lining.
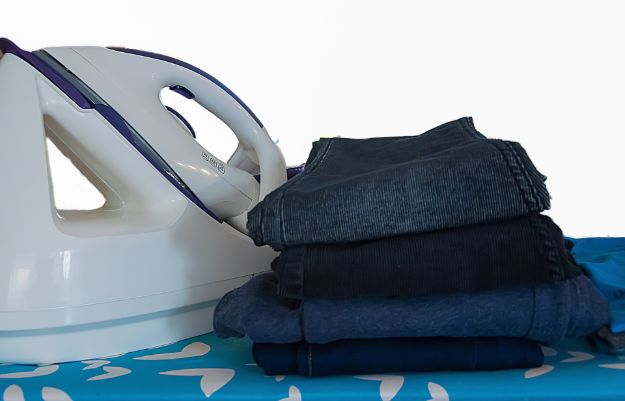
Step 2. Fusing
Fuse interfacing to toe and heel lining by ironing. Stick the outer fabric to the lining. Now, leave an inch gap with some pins. Run a straight stitch over this with your sewing machine.
Step 4. Trimming
Grab your scissors and let's trim the corners of the fabric pieces. Then let us notch the curves.
Step 5. Inside out
With the point turner, turn the fabrics right side out. Once done, press them all right side out with a hot iron.
Step 6. Seal the gap
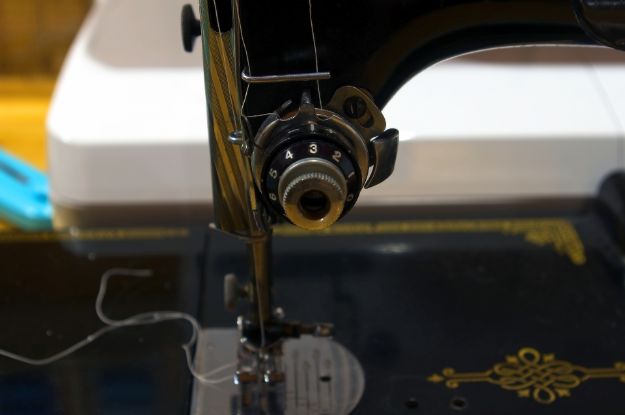
We will now use the sewing machine to seal the gap in the fabrics with a top stitch.
Step 7. Creating the fabric shoe
Mark the long piece 5/8 of an inch from the edge. Do the same to the lining side. Place the curve of the fabric facing inward to create the fabric part of the shoe. Match up the marks then sew the edges that meet with a backstitch. Double tack both ends for added strength.
Step 8. Sew the fabric to the espadrilles
Fold the fabric shoe in half. Now pin the top and bottom end points in place. Then pin every 3/8 all around the espadrille sole.
Step 9. Sew the fabric to the espadrille
Thread the needle then create a knot at the end. Pierce one side of the espadrille then continue to do a ladder stitch or blanket stitch all around the shoe. The needle should go through the espadrille then out into the inner side of the shoes. Then out into the fabric before entering the espadrille again.
Ta-dah!
Once you meet the beginning stitch, tie a double knot, clip the excess yarn and you now have your very own DIY espadrille!
Go through the nitty gritty of this tutorial with a step by step video by NancysNotions:

DIY espadrille gives you more freedom to be creative. You can experiment with different kinds of fabric and thread. You can also add embellishments if you wish. This is your personality coming through! Pair your espadrilles with shorts, skirts, pants, dress or a cute romper! This shoe is versatile that you can mix and match it without ever going wrong! Happy sewing!
Feeling creative? Pair your DIY espadrilles with a chic off the shoulder top! Click here for the tutorial!
Like this? You will also like these:
13 Cute Pants And Summer Shorts To Sew | Sewing Projects
Sewing Project | 7 DIY Summer Tote Bags Every Fashionista Will Love