

Looking for a cool sewing project that can keep yours and your kid's mobile accessories organized? Well, you just opened the right page, because we will be sharing you a tutorial on how to make your own circle zip earphone case. This project is totally cool and useful that will keep earphones from breaking or get tangled. I'm sure you'll love this — it's super simple, fun, and a great DIY gift idea.
No More Tangled Earphones with this Easy Sewing Project
I really get annoyed when the chords of my earphones get tangled inside my bag. I'm sure you relate to this, do you? So, if you have several pairs of earphones, I would certainly suggest you have a case for them. In fact, I already have one. And guess what? Mine was a DIY circle zip case that a good friend has given me. It was a super cute and I really love it. Since I still have another pair of headphones, I decided to make one, and I found this video tutorial from A Pinch of Dainty's channel on how to make a cute circle zip earbud case. I also wanted to share you this, so, prepare your materials, follow these steps, and let's get started.
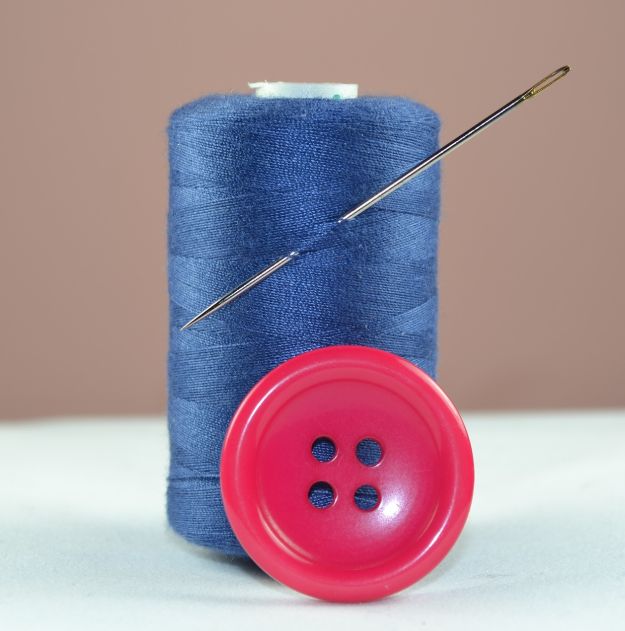
Here are the things you'll need:
- Scrap of fabric (main and lining)
- Batting
- Zipper (any size)
- Soup container lid (about 4.5″ in diameter)
- Key ring (optional)
- Coordinating thread
- Basic sewing supplies
Instructions:
Step 1. Cut the fabrics into circle
Cut your main fabric, lining, and batting in a circle, measuring 4.5 inches in diameter. Cut other pieces into half to make some semi-circles. You will need two of each semi-circle for your main piece, batting, and lining.
Tip: Use the soup container lid and trace it into a cardboard to make a circle pattern piece. You can use in on tracing the fabrics.
Step 2. Place the semi-circle lining, main fabric, batting fabric, and zipper together
Place one of your semi-circle lining fabric right sides facing up and place the zipper facing up too. Then, on top of that, you're going to place the main fabric right side facing down, and the batting.
Step 3. Pin, sew, and top stitch
Pin on top and sew with a quarter of an inch seam allowance. Then, top stitch across with the batting sandwich between your main fabric and the lining piece.

Step 4. Place the semi-circle lining, main, batting fabric to the opposite side of the zipper
Take the second semi-circle lining piece and place the zipper facing up. Place the main piece on top of that, aligning the top edges and your batting. Then sew it with a quarter of an inch seam allowance.
Step 5. Flip it over and stitch
Flip it over and stitch that area too. Check the image and that's what it should look like.

Step 6. Make the tab for the side
Take the 2-inch square. Fold it in half just like a bias tape kind of fold. Then, open it and fold the two sides to the center, and top stitch on both of the long sides. Check the image and that's what it should look like.
Step 7. Unzip the zipper part way
Take the front piece (make sure you open up the zipper so that the pouch is halfway open). Now take the tab (the one that you did on step 6), fold it in half, align the raw edges of the tab with the raw edges of the circle. Pin that into place.

Step 8. Stitch the circle pieces of fabrics
Take the main fabric that's cut into a whole circle and place it the right side facing down. Place the batting on top of that. Take the lining and place that also into the top of the batting right side facing up. Then, pin that into place and stitches all the way around with eight-quarter inch seam allowance or 3/8 inch seam allowance.
Step 9. Trim the zipper or cut the notches
Now, trim off the excess zipper or cut the notches all the way around the circle. See the image and that's what it should look like.
Step 10. Turn the pouch inside out and attach the key ring
Lastly, turn the pouch inside out and top stitch all around the edge. Attach the key ring and then you're done. Easy-peazy, right? Make some more and send your friends this pretty simple DIY headphone pouch.

You can also watch the video tutorial here for details:

This earphone pouch is a really smart idea, and would make a great gift for anyone, because we ALL use headphones! This little zipper pouch will also help keep your earphones from breaking and getting tangled. It's a very simple sewing project, so make some more and add all the fancy embellishments you want! Be creative, enjoy, and keep on sewing!
Looking fo more sewing projects? Click here.