
Have you ever tried making cushion covers? Pop some colors and create the happy mood your home deserves by upgrading your cushion covers and making them more fun. Keep reading to find out how!
Sewing Project | Make Your Own Stylish Pompom Trim Cushion Covers
It's Time to Pop Some Fun in Your Room
Cushion covers come in different styles, sizes, and colors and you can still be creative in designing them. You may opt for plain fabrics or you can pick designed ones depending on your taste. There are cushion covers that don't need sewing however, there are lots which need one, including this tutorial that we are about to share. Cushion covers need to be washed and changed regularly as they're exposed to dirt. So you need a lot of these pretty babies!
To help you out, here's an easy tutorial on how to sew a pompom cushion cover in 8 easy steps!
You'll Need:
- tape measure
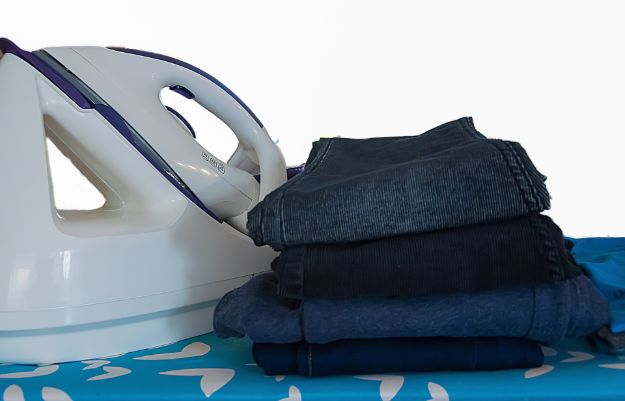
- denim fabric
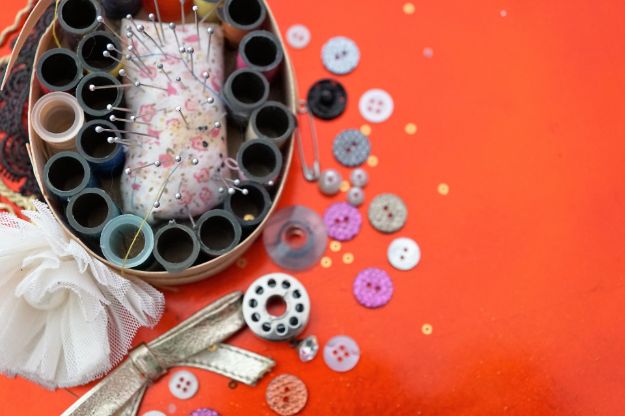
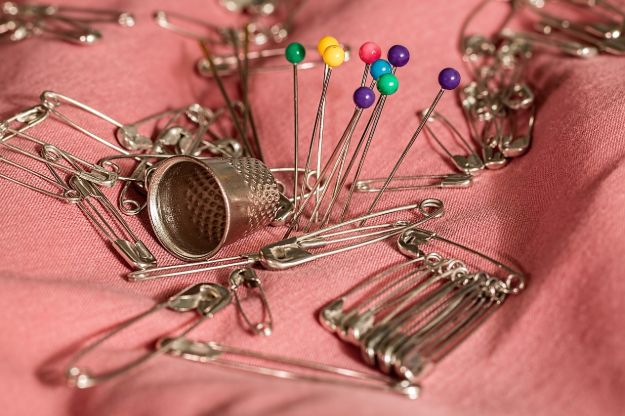
- straight pins
- pompom trim
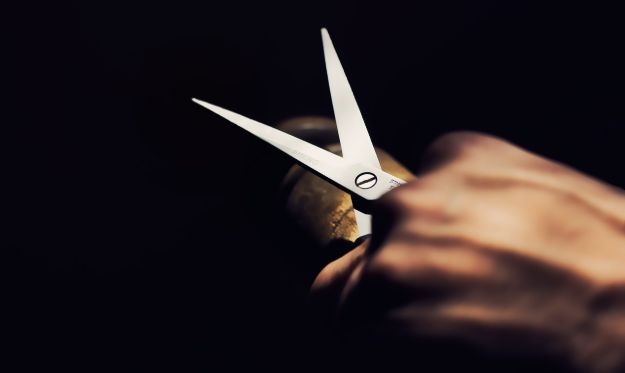
- scissors
Instructions:
Step 1. Measurement
To know the measurement of fabric you'll need, measure the width of the cushion + its thickness and the length of your cushion + its thickness.
Measurement from the tutorial: 50 x 50 cm.
Step 2. Cutting
After getting the measurement, cut one 50 x 50 denim fabric. For the back panel, cut two pieces of the same length.
First denim for the back, get half of the measurement of your front fabric then add 5cm. Do the same thing with the other fabric for the back cover.
That's
Step 3. Fold and Pin
Start by folding over 1 cm on one of the sides of the back pieces for a nice clean edge. Then use your pins to secure your fold in place.
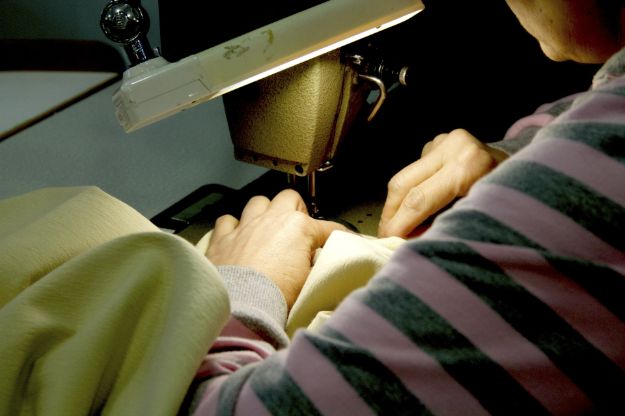
Step 4. Sew
Start sewing the edge of the back piece fabric that you've pinned using your sewing machine.
Step 5. Attach The Pompom Trim
Get your front piece of denim and your pompom trim. Line the pompom trim on the edge of the denim and pin in place. Once you've pinned your pompom trim all the way around the cushion, stitch it in place.
Tip 1: Make sure your pompom is facing inward.
Tip 2. You can make it two pompom trim colors to make it more fun and colorful.
Step 6. Attachment Of The Backpiece
Tip 3: The pre-made seam should be in the middle.
Step 7. Pin The Sides
When you're done putting the back piece in place, pin all sides. Do the same with the other back piece – for the opposite side.
Step 8. Sew
Use the line you made for stitching the pompom as your guide for sewing the edges. If all the edges are closed, turn it the right way around.
Tip 4: Make sure you push the four corners out nicely.
And your cushion cover is now ready!
Hit the play button below and watch the tutorial for making a DIY Pompom Trim Cushion Cover from HandmadeHome.

Bravo! We can't wait to finally see your own creation of this DIY pompom trim cushion covers! You can even make even better! be creative and play with your old denim to create such a wonderful DIY project. Sew more for your home fashion statement! Happy sewing!
Want more sewing project ideas? Click here.
Like this? You'll also like…
Sewing Tutorial | Pretty DIY Tulle Skirt That Will Make You Look Stunning
Sewing Tutorial | Learn to Sew A Stylish Leather Bomber Jacket
[Video] Sewing Tutorial | How To Make A Simple Head Wrap