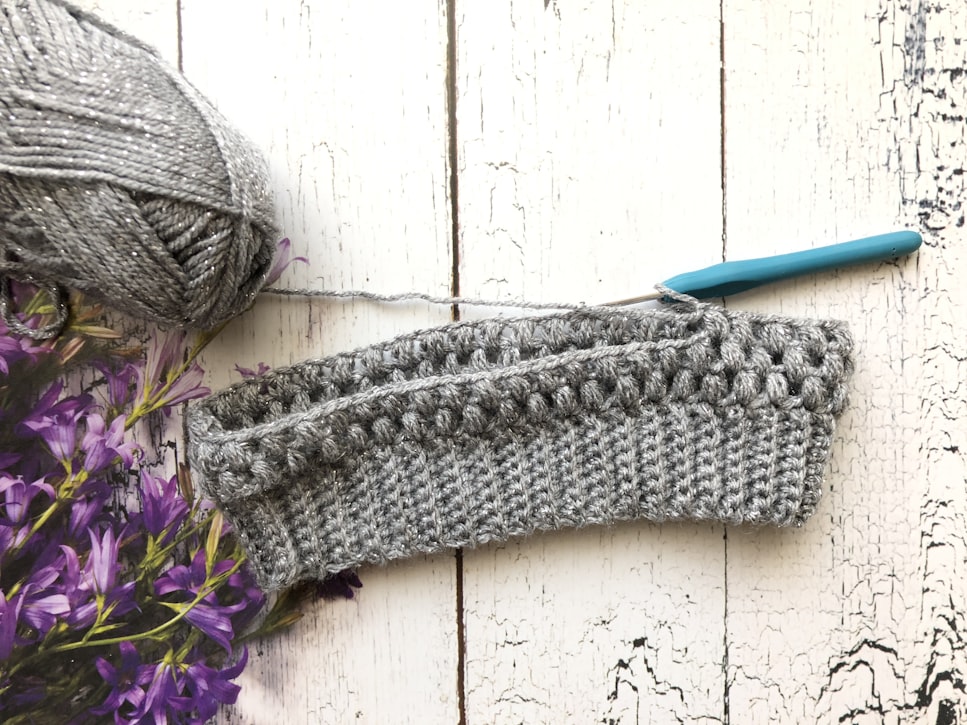
Make this trendy DIY Mermaid Crochet Tail and you'll be unmistakable from the mysterious mythical creatures.
Cute Mermaid Tail Crochet Pattern
Did you ever wish you were a mermaid when you were little? Admit it, it was most likely one of your fantasies. Becoming a mermaid is impossible, but dressing up like one is quite easy. Since cold weather is on the horizon, this cozy mermaid blanket has become incredibly trendy. So let's hop on the wagon, and start making one. Keep reading and be inspired to crochet one for your kids and yourself too.
The stitching pattern of this DIY blanket mimics the scales of the fish. This stunning blanket is easy to use because of its wider opening. It's perfect for people who want to feel like a mermaid princess while snuggling up on a couch or bed. Be what they call a ‘couch mermaid' with this comfy blanket! Let's get started!
Things you'll need:
- Yarn: 600 grams (near 800 yards) of chunky/bulky yarn (number 5)
- Hook: 10 mm hook (US: N-P or number 15)
- Pair of scissors
- Yarn needle
Let’s get started:
Step 1. Make The Base
Starting with a slim knot, make 15 chains (that will serve as a base for your blanket). If you want it smaller or a bigger base, you can add more or fewer chains.
Step 2. Add Three Extra Chains
After 15 chains you will add 3 extra chains.
Step 3. Make a Double Crochet Stitch
On the 4th chain (right after the 3rd extra chain) from the hook, you will make 1 double crochet stitch. Continue until you get to the other side.
Step 4. Make Four Double Crochet Stitches
When you reach the last chain, make 4 double crochet stitches. This will allow you to move or turn to the other side.
Step 5. Create a Mirror Crochet
When you're on the other side of the base, look for the available stitch, then make 1 double crochet stitch. Continue on each available chains until you finished crocheting the same pattern called the mirror crochet.
Note: Mirror crochet is also called reverse single crochet.
Step 6. Make Two Double Crochet Stitches
When you turn around the other side of the base, you will see the 3 chains and the first double crochet you made at the beginning. So, on that corner, you just need to add 1 double crochet stitch to make it 2.
Step 7. Add Two Double Crochet Stitches
After the 2 double crochet stitches you did from the previous step, you will add another 2 double crochet stitches to make it 4. Now, you'll have 4 double crochet stitches on each side of the corner.
Step 8. Closing The First Round
To close the first round, you will look for the 3rd chain you did earlier, and make 1 stitch to close.
There you have it! Does this tutorial get you excited to start? Let me know how it goes in the comments below.
