
Take your kitchen and sewing skills up a notch by making these easy and fun DIY coasters! Grab your colorful scraps of fabric and keep reading for the tutorial.
Coasters aren't just accessories. They're even more functional than you actually thought they are. Coasters keep surfaces safe and prevent glasses or bottles from slipping. They even prevent surfaces from drips, temperature-related damages, and condensation. Coasters are essential in every household or in any food establishment. Not only that they are considered to add edge to every dining experience, they also help prevent damages.
Pop Some Colors On Your Dining Table With These DIY Coasters
There's a wide variety of coasters you can find in stores but quilted coasters just make things better, especially when they are popping with colors! I know you like the idea of quilted coasters; they're not usually seen on every dining experience. Not only that the idea of it sounds fun, it will also test your sewing prowess. So, why not bring your personal style to your home decors and your artistic side with this fun and easy DIY coasters tutorial.
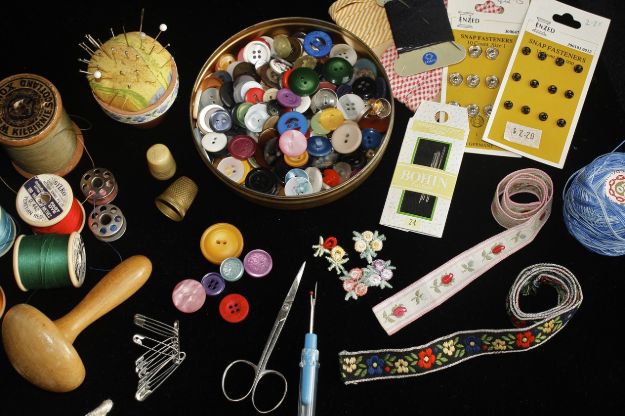
For these DIY coasters, you will need:
- Scraps of fabric in different color
- Cloth for edging
- Filler
- Cutting mat
- Sewing machine
- Line for patchwork
- Pins
- Rotary cutter
- Iron
- Ironing board
- Pencil
- Sewing Scissors
- Cup
Ready, get set… sew!
Step 1. Prepare necessary tools and materials

Before proceeding with the process of this DIY tutorial, first, prepare the necessary tools and materials needed and listed above. The diameter of the fabric should be 5 inches in width and 6 inches in length. (12.5cm and 15cm)
Step 2. Iron the cloth and cut out
Before you cut out the fabric into strips, iron the cloth to get rid of the wrinkles. Then after that, you can proceed to cut the fabric into strips of varying width.
Step 3. Sew together
When you're finished ironing and cutting the fabric into strips, start sewing the strips together. You can alternate colors and prints to create a more attractive piece of cloth.
Step 4. Iron to flatten
Once you are finished sewing the strips of clothes forming new pieces of cloth, iron carefully to flatten them. This is to get rid of the wrinkles in the fabric during the sewing process.
Step 5. Cut out another scrap of fabrics
The wrong side of the cloth will always look messy, that's why you need to cut out another set of scrap fabrics into strips for the wrong side.
Step 6. Edge on the bias
From the cut-out strips of fabric, measure each strip with a bandwidth size of 1.5 inches from a diagonal angle to produce an edged strips of the fabric.
Step 7. Collect the strips
Add the edged strips of fabric to the wrong side of the cloth and add fillers to each piece. Then, use safety pins in connecting them together. (Remember to be careful when using the safety pins)
Step 8. Sew to quilt

Now that you have safely pinned the fabrics together (to ensure a trace as you sew them), start quilting the fabrics using your sewing machine.
Step 9. Remove pins
Quilting the fabrics using a sewing machine can be pretty fast. Now that you're done quilting both cloth, remove the safety pins. (Again, be careful with the safety pins as you remove them from the quilted fabrics)
Step 10. Draw circles
Using a cup and a pencil, trace a circle on every piece of cloth you quilted. The rim size of the cup you will use will be the size of the circumference in the coasters you will produce. (I suggest you choose a cup size not too wide but not too small either)
Step 11. Cut and Scribble
Cut and make sure to scribble the circuits. This way, you can sew the edging easier. Tracing a circumference where you will sew will help avoid inconsistency of the pattern in the sewing processing.
Step 12. Sew the edging
After you have scribbled the circuits in each piece, start sewing the edging inside-out of each piece around the perimeter of the circle. And you're done!
Watch the full tutorial here by Guide Central English:

Easy peasy, right? Now you can add this new set of DIY coasters to pop colors to your kitchen! Making this kitchen sewing project will not only protect your furniture from damage but add edge as well. This also makes a great gift idea! Happy stitching!
Do you also love embroidery? Check these types of hand embroideries!
More of quilting stuff? Below are related articles!
79 Crafty DIY Potholder Sewing Pattern Ideas That Will Add Life To Your Kitchen