
A DIY bow tie is a charming piece of accessory that only a few men can pull off. It is not too formal like a necktie, instead it gives off a cool dude vibe.
It's National Bow Tie Day on August 28! It's the perfect day to reflect on its simple elegance. In celebration of this iconic fashion piece, we will be creating a DIY bow tie today! This DIY accessory is perfect for anyone who wants to make a fashion statement.
Sew And Wear This DIY Bow Tie On Bow Tie Day! | Sewing Project
DIY Bow Tie for a Preppy Look
You can use any scrap of fabric for this DIY bow tie tutorial. My son doesn't like neckties and can't seem to make a decent bow tie so I decided to make him this instead. He loved it that he would often ask me to create unique ones to complete his outfits. So if you have some scrap of fabric lying around, why not try this DIY bow tie tutorial.
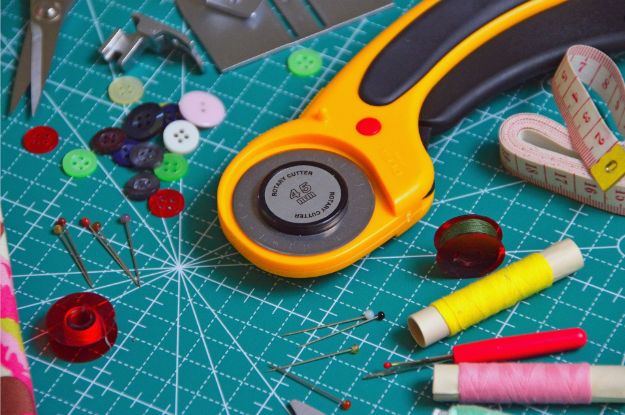
For this DIY bow tie, you'll need:
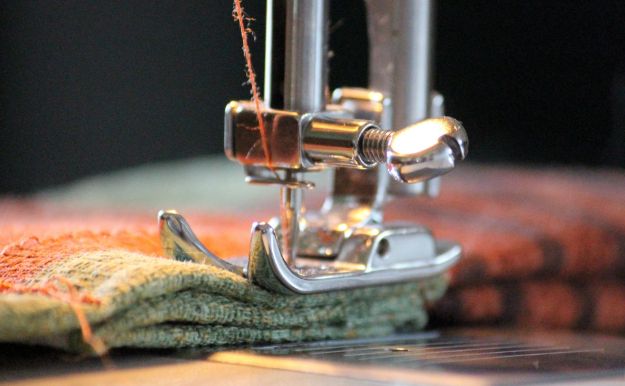
- Sewing Machine
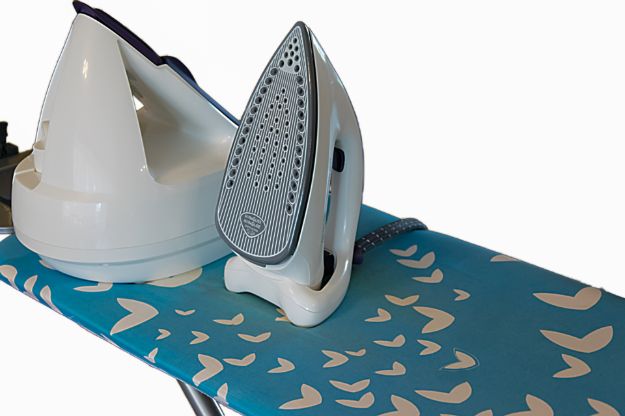
- Ironing Board
- Iron
- ¼ yard Pellon® Interfacing with iron-on backing
- Downloadable bow tie pattern
- ¼ yard fabric
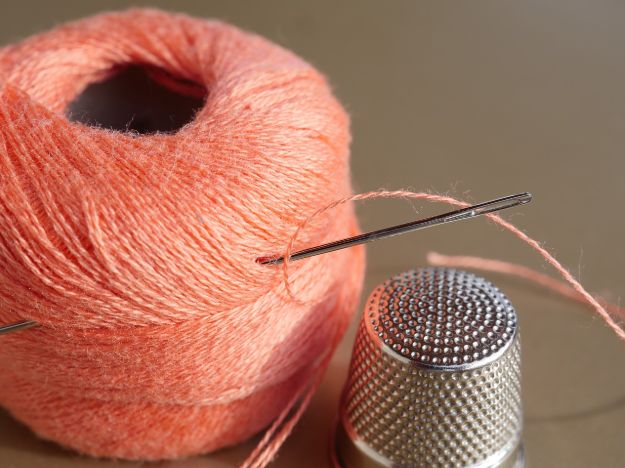
- Thread
- Pins and Needle
Ready? Get set…sew!
Step 1.Print out the pattern
First we need to print out the pattern on a thick paper or card stock. Then cut out the neck piece according to the wearer’s neck/collar size. Then tape the smaller piece to the narrow end of the bigger piece.
Step 2. Iron the fabric
Next, we will be ironing the fabric before we cut it.This will take out the wrinkles and air bubbles from the fabric.
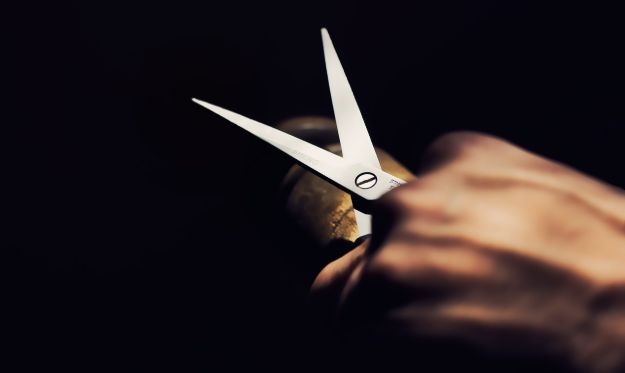
Step 3. Pin the pattern and cut
Then let us pin the pattern on the fabric. Grab a sharp scissor and cut 4 pieces from the fabric. Then cut another 2 pieces from the interfacing.
Step 4. Iron together
Pin one fabric to the shiny side of the interfacing and iron them together. Grab another fabric and do this again. Now you have four pieces: two pieces of fabric with interfacing and two fabrics.
Step 5. Pin the pieces
Get a piece of fabric with interfacing and one without. Pin them together with both of their backside facing up.
Step 6. Match and sew
Take a matching pieces then sew the narrow ends together with a ¼ seam allowance. Do this to the other pair. Now you only have two pieces.
Step 7. Pair up and mark a gap
Lay the two pieces on top of each other with the backside facing up. The fabric's pattern should be facing each other. Pin them together. Next, get a tape or ruler and a pen. Use these to mark a gap of 3-4 inches in the center.
Step 8. Sew them together
Sew the two pieces together but leave the gap open. We will use this to turn our fabric inside out.
Step 9. Inside out
Use a long stick-like object to help you push the fabric out of the gap in the middle. Once done, iron the fabric well. Make sure the tips are pointed.
Step 10. Taa daa!
Now, we will sew up the gap. Let's fold the edges ¼ inch inward before ironing them flat. Then, sew the gap up using a straight stitch and you are done!
Check out how easy it is to make this DIY bow tie in this video by tieatie! I bet you can do this in under 30 minutes!

Now this fashion accessory would be perfect to wear on National Bow Tie Day! I love how this DIY bow tie looks awesome but is actually very affordable! It's also a great DIY gift idea. I would usually make a random bow tie for my son for certain special occasion. He looks smart and preppy when his bow tie matches what he is wearing.
Sew much fabric…Sew little time! Need more thread? Click here.
Like this post? wait until you read these:
Sewing Tutorial | Father’s Day Gift Idea: DIY Classic Necktie For An Amazing Dad
Bow Tie Dog Collar | Get Your Pup OOTD-Ready With This Sewing Project