
Let your kid stand out from the crowd this coming school year by making your own DIY backpack! Ready your sewing materials and let’s get sewing!
Cool DIY Backpack Perfect for the Incoming School Year
With the incoming school year right around the corner, thousands of families are surely storming through supply stores for mass-produced bags by now. Save yourself the trouble and make your kid’s own DIY backpack! It’s thrifty and your kid will surely have a unique backpack he or she’s not going to share with hundreds of kids in their school! Sounds good? Then let’s begin!
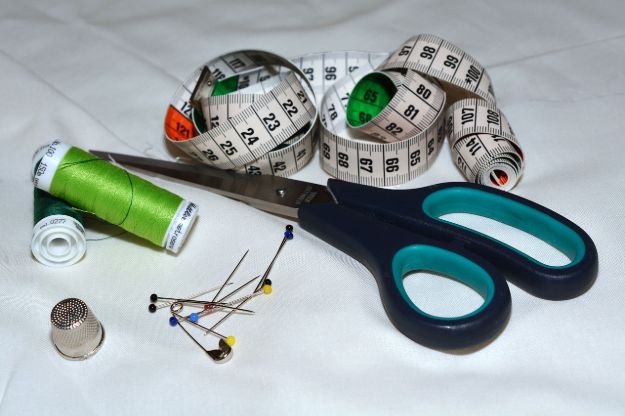
Materials You Need to Make Your DIY Backpack:
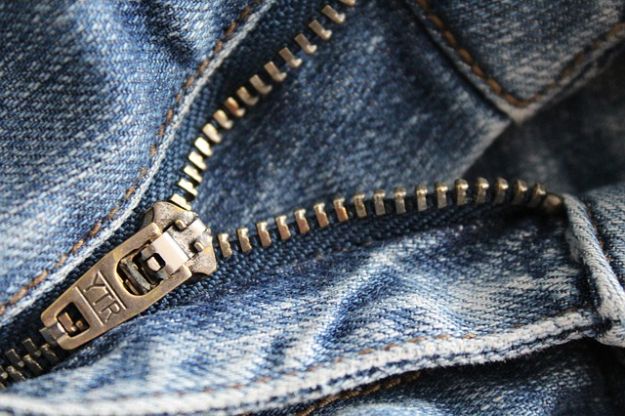
- Old Denim Pants
- Scissors
- Tissue Paper or Pattern Paper
- Marker
- Zipper
- Sewing Machine and Thread
- Fabric Paint and Patches (Optional)
Step 1: Cut Your Jeans Apart
Any old pair of jeans would be perfect for this project. First, cut your old jeans through the inseam to determine how much fabric you have. Set it aside for the meantime.
A post shared by Sewing.com (@sewingdotcom) on
Step 2: Draw Your Pattern
Get your tissue or pattern paper and with your marker, draw half an oval, or any shape you want, on it. Then, cut your pattern out.
Step 3: Measure Your Zipper
Take your zipper and set it on top of your pattern. Mark where your zipper starts and where it ends. Then, measure the bottom half of your pattern to see how much you’ll need to cut.
At this point, you’ll have the measurements of the fabric strips that would connect your two ovals: one would be where you zipper would be and the other would function as the bottom of your bag.
Step 4: Creating the Patterns
From the measurements you’ve gathered, create the patterns for the top and bottom strips. Lay the patterns out over your denim fabric and cut accordingly. (Be sure to cut two ovals for the front and back parts of your bag!)
Step 5: Sewing Time!
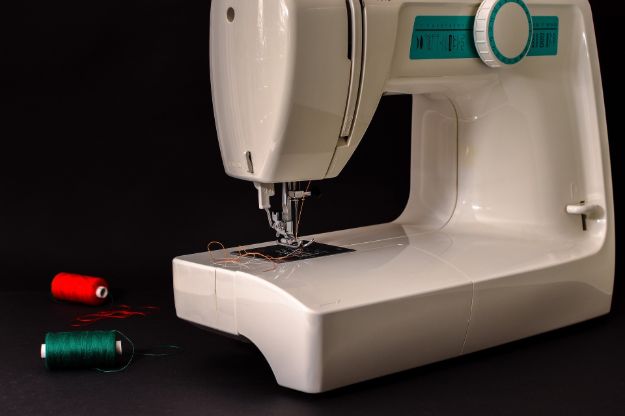
Start attaching the pieces together! Begin by sewing the zipper on the top strip. You can then attach the bottom strip before moving on to sew one of the ovals.
Step 6: Strap in for the Straps!
Before attaching the last of the ovals, prepare your straps. Take your denim fabric again and cut out two strips of fabric about 3-4 inches wide. Fold the edges towards the middle and top stitch them. Then, pin the ends to your bag. Try it on to see if the straps are of the correct length for you.
Don’t forget to set aside a small strip of fabric for the bag handle at the top! Before you attach the front face, securing the straps together, pin your handle at the top strip.
Step 7: Assembly
Turn your backpack inside out before sewing on the remaining oval fabric. Leave a small amount of your zipper unzipped so you can turn your backpack to rights again through it.
Step 8: Embellishment
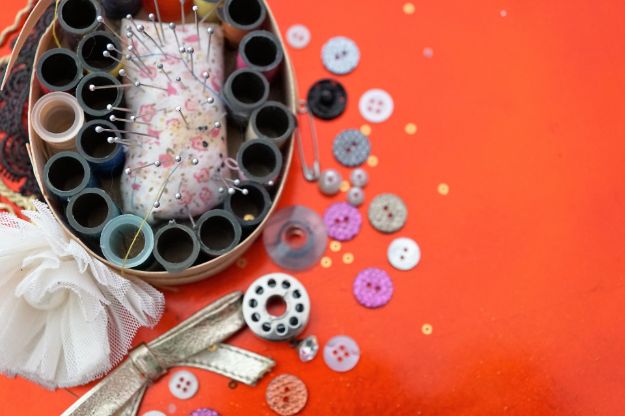
At this point, your backpack is good to go. But you can always take it to the next level by adding embellishments. For this tutorial, we’ve sewn the pants’ back pocket and placed polka dots using paint on our backpack. We suggest you go crazy over patches since they are affordable and trendy.
For a step-by-step guide, watch this video from coolirpa:

DIY backpacks are surprisingly easy to make, right? Going back to school would definitely hurt less with this DIY backpack to look forward to. And as a bonus, you would definitely know your kid would be the only one sporting this backpack! Uniqueness and thrifty in one sewing project!
How would you design your own DIY backpack? Let us know in the comments below!
Up Next: 19 Easy Back to School Sewing Ideas That Will Make Your Kids Happy
Follow us on Facebook, Twitter, Instagram, and Pinterest!
Editor’s Note – This post was previously published on August 18, 2016, and has since been updated for quality and relevancy.